Descendants 2 - Rise of the Isle of the Lost
Did you watch the premiere of Descendants 2 this past week? My kids and I have been counting the days all summer to see Uma, the daughter of Ursula seek revenge from the Isle of the Lost. I love that Disney is having fun with villains in this musical trilogy. The cast of characters include the children of Ursula, Maleficent, Jafar and more. There's an abundance of dancing, singing and references to our favorite Disney movies!
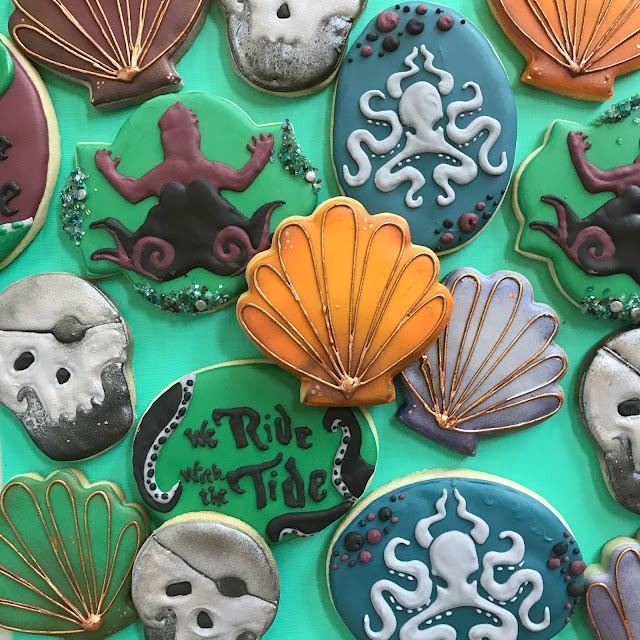
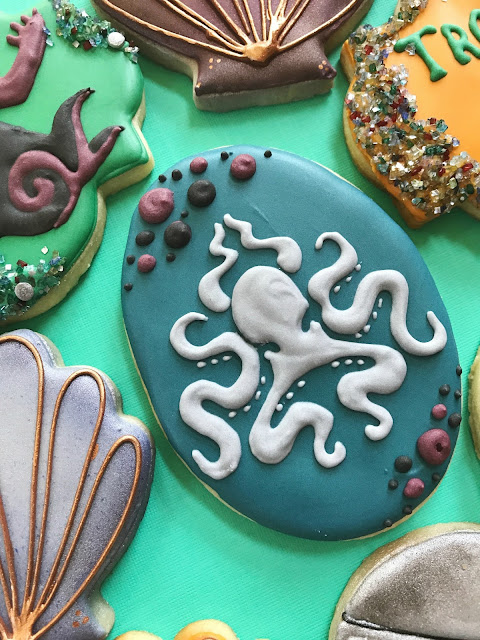
The Rise of the Isle of the Lost features a lot of attention on the sea and Uma. I wanted to create a spooky and bejeweled series of cookies for our Descendants 2 party. I focused on jewel toned seashells, sparkly skulls and of course an abundance of octopus!
Are you hosting a Descendants party? You can recreate this set easily and I bet you have most of the cutters already! For this cookie set I used : shell, oval, plaque and skull. This cookie party platter could also be easily tweaked to just be for a pirate party.
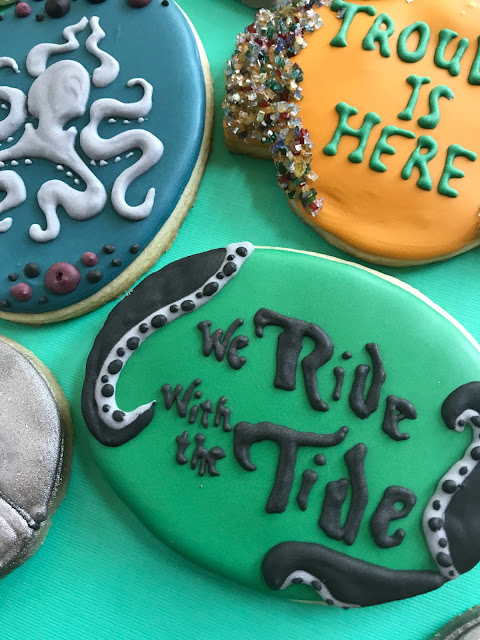
One of the catchy series phrases was "We Ride With the Tide" and "Trouble is Here". One of my favorite cookies features a quote and is framed with octopus tentacles. This is an easy cookie to make and can be done on just about cookie cutter you have at home!
You can see below how much the jewel toned sugar sprinkles add to the cookie set. They shimmer and glisten like stolen jewels from the sea. Your Descendant loving kiddos will go nuts over these treats!
Come watch me create the cookie over here! So easy on a basic plaque cookie.
What's a story of the sea without pirate skulls and an evil octopus villain? I created these ombre jewel seashells with the help of my airbrush machine and some edible gold paint. Come back later this week to see how I made the shells and used them in a desert beach set!
1 Comment
Categories:
cookie decorating,
desecendants 2,
disney,
mal,
rise of the isle of the lost,
the descendants,
tutorial,
uma

Golden Snitch Cookie Tutorial
It's that time of year again when my amazing friend Marissa of Rae Gun Ramblings hosts her annual Harry Potter bonanza for all us Muggles! There will be tutorials, inspiration, giveaways and so many amazing blogs. If you have ever dreamed of attending Hogwarts or playing quidditch, then you will have to join us for the magical blog ride.
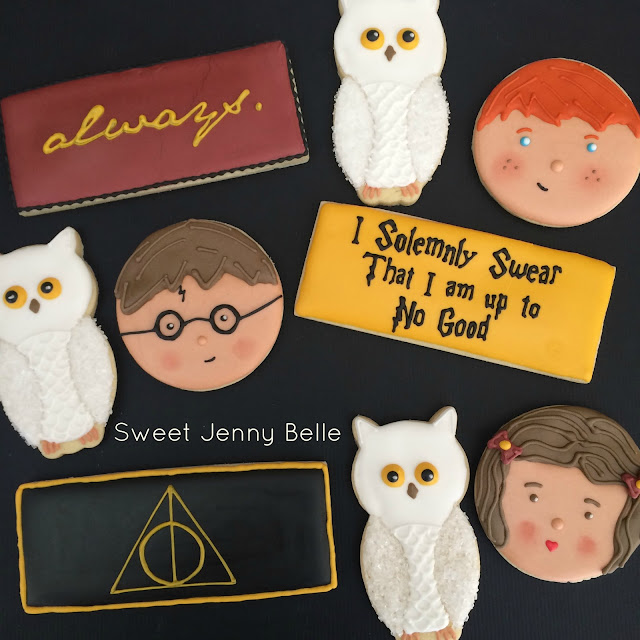
I thought long and hard about what kind of cookie I should create for this year's Harry Potter party. I wanted to create a set that might speak to an older crowd - refined and dramatic. I worked with a small color palette and selected a few visuals to play with.
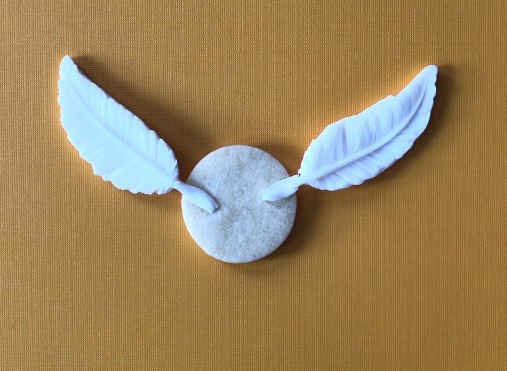
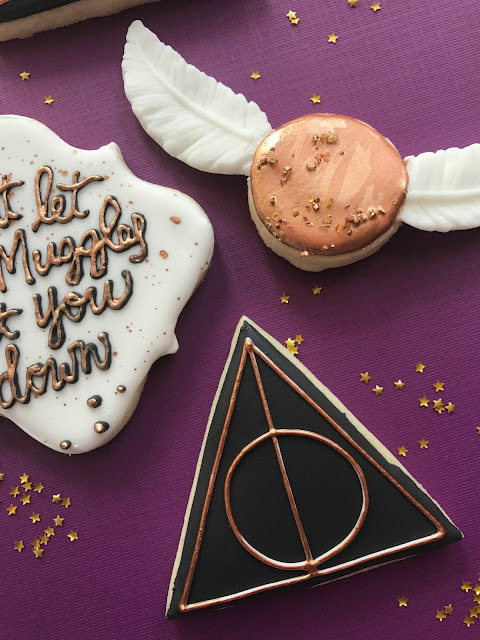
There has always been something about the quidditch game that I loved. Or maybe I just want to ride around on a broom. I wanted to create a golden snitch that would be magical and a new cookie style. For this snitch, I've added white fondant wings for such a fun way to create dimension.
Materials needed:
- small round cookie
- white royal icing
- edible gold paint
- white fondant
- silicone wings mold
- edible gold stars or sprinkles (optional)
The first thing you need to do to create these flying, golden snitches is to create the fondant wings. For this cookie, I actually used a feather mold - I liked how delicate and long this particular mold was. Take a small bit of fondant (homemade or store bought) and push it into the mold. Place in the freezer for about 10 minutes and pop out. I let mine stiffen up overnight in a cool, dry box. Create 2 feathers for every snitch cookie that you are making.
Next you will position the fondant feathers on your round cookie. Gently press and flatten the fondant ends of the feather into the cookie. This will help anchor the fondant and make it more stable.
Now outline and flood the cookie in white icing. You will completely ice over the area of the fondant that is on the cookie. Allow to dry for 10 minutes in a dehydrator at 90 F or at room temperature for a few hours.
Your final step to finishing the golden snitch cookie, is painting a layer of edible gold paint all over the cookie. There are a number of options on the market, just choose your favorite. This adds such a gorgeous sheen. Your Hogwarts fans, old and young, will love this sparkly cookie! I added a few edible stars and sprinkles while the gold paint was still wet.
Aren't these quidditch cookies a showstopper?! They are fragile, so please treat with care and this may not be one that you will want to ship. However, they are easy to make and I think are my most favorite Harry Potter cookie to date.
Want to see a quickie video of creating the cookie? Unfortunately it was crazy overcast in Washington and my hands have a weird purple hue in the video, but it will show you exactly how I made mine.
DON'T FORGET!
This year's Happy Harry Potter giveaway winner will give a fun package including:
- $50 Amazon.com gift card
- Make Love Not Horcruxes Book Bag and Custom Hogwarts House Tie Necklace from Rae Gun Shop
- Bookish Swag from CrateJoy which has loads of HP and fandom related subscription boxes.
- Four Stunning Harry Potter Printables from Sisters What!
Are you looking for more Harry Potter cookie tutorials? Come visit the Harry cookie I created last year! And of course, lots more inspiration cookie ideas for your party or client!
XO,
Jenny
Categories:
contest,
cookie decorating,
decorated cookie,
DIY,
giveaway,
golden snitch,
harry potter,
hogwarts,
magical,
tutorial
Bourbon Candied Pecan Pie Cookies
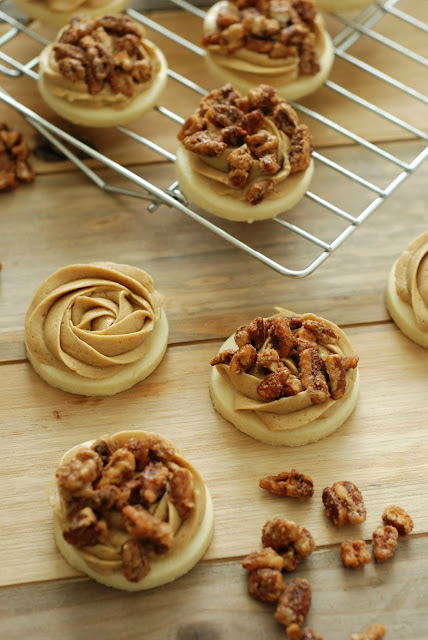
Pecan pie is my husband and dad's favorite dessert ever. It's my go-to recipe during the fall holidays and it's always devoured. I love pie, ya'll know I love pie. However, I also love experimenting with flavor and texture combinations. National Pecan Pie Day was this week and I wanted to see if I could recreate that gooey, nutty taste in a cookie. I came up with a soft vanilla cookie topped with smooth molasses buttercream and bourbon candied pecans. It is amazing!
Today I'm giving you the recipe for the molasses buttercream and candied pecans. You can add it to your favorite sugar cookie recipe. If you are still looking for that perfect cookie recipe, run back to the blog next week for my personal favorite. You can easily adapt this recipe for a pecan pie cupcake too! Just add the buttercream and pecans to a spice cupcake for a completely delicious dessert.
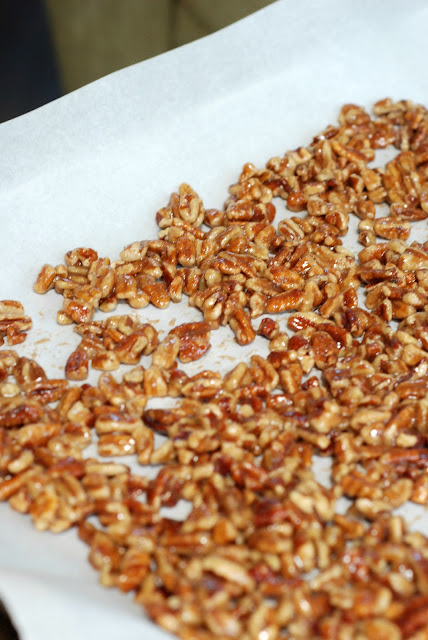
The candied pecans are baked in bourbon whiskey, sugars and some spices. In just 30 minutes you will have the most amazing nuts that are perfect on cookies, ice cream or simply as they are. They would make a yummy holiday gift too! If you are not a drinker, feel free to leave the bourbon out of the recipe. I love the complex taste it adds, but it's not necessary.
I was a bit timid to try molasses in the buttercream frosting. It is such a strong flavor, but I think you will find it works amazingly well. There's only 1/8 cup included in the icing recipe - it's enough to impart the pecan pie taste, but does not overwhelm the dessert.
Bourbon Candied Pecan Pie Cookies
By Jenny Rodriguez
Make any sugar cookie transformed into a pecan pie dessert! Simply add molasses buttercream and bourbon candied pecans for a decadent cookie that will be a bite of autumn bliss.
Prep time:
Cook time:
Total time:
Yield: 3 dozen topped cookies
Ingredients:
3 dozen baked vanilla cookies
1/4 cup white sugar
1/4 cup brown sugar
1/2 tsp salt
1 tbsp cinnamon
3 cups pecan pieces
1 large egg white
1 tbsp whiskey
1 cup butter, softened
2 cups powder sugar
1/8 cup molasses
1 tbsp vanilla
4 tbsp heavy whipping cream
Instructions:
Ok, you caught me - I'm excited and counting the weeks until it's fall. I love watching the leaves turn and finding gorgeous orange pumpkins at the market. Pecan pie is a favorite autumn dessert, but I think with the ease of the recipe that you will be enjoying the taste all year!
XO,
Jenny
Categories:
alcoholic,
bourbon,
buttercream,
candied nuts,
candied pecans,
national pecan pie day,
pecan,
pecan pie,
pie,
recipe
Spiderman Homecoming Cookies
Who else is excited for the latest Super Hero movie, Spiderman Homecoming? Although I doubt my children will watch it with us, they are too little, I wanted to share the Super Hero excitement with them. My son just had a Batman party and loves to pretend he's fighting bad guys. They were climbing the walls with excitement as they watched me make these!
These Spiderman cookies are really pretty quick! I used a royal icing transfer for the eyes and that makes this whole cookie a low stress design. These are small enough to be used as an adorable cupcake topper or you can make them large round cookies for a party favor.
What do you need?
- round cookies - you can use a cookie or biscuit cutter
- royal icing in flood level - red, black and white
- Spiderman face template (Google Spiderman face images and pick your favorite. Be sure the eyes will fit on the cookie!)
- parchment paper
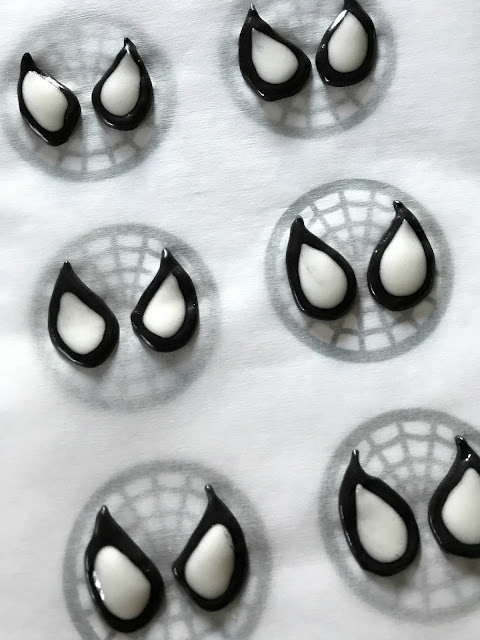
The first step in creating these fun Spiderman treats is to create a royal icing transfer of the eyes. Search and print an image of Spiderman's face that you like. Make sure the eyes will fit on the cookie. Copy and paste several Spiderman heads on a piece of paper and print out. Place a sheet of parchment paper on top. You should be able to see through to the template quite easily.
Trace the outline of the eyes in black and white. Your icing should be thin enough to flow, but not too loose. I think my icing was about a 15 second flood. Once you've iced all the eyes you need, do a few more! Sometimes these can be fragile and you'd rather have too many! Set aside to dry for 8-12 hours. They will pop right off!
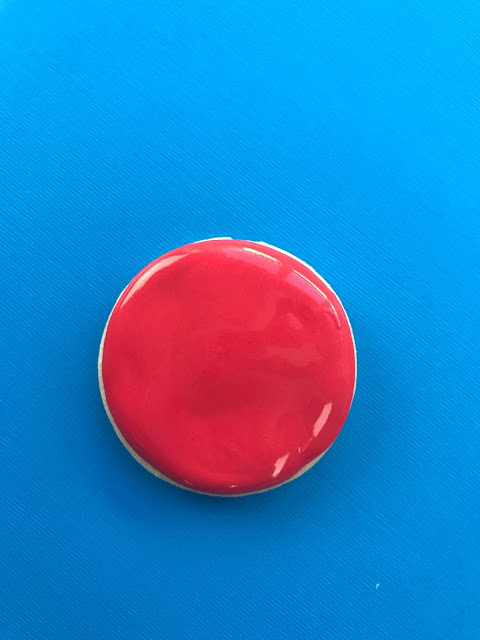
Now outline and flood your cookies in a bold red. I used Americolor's Super Red and love it!
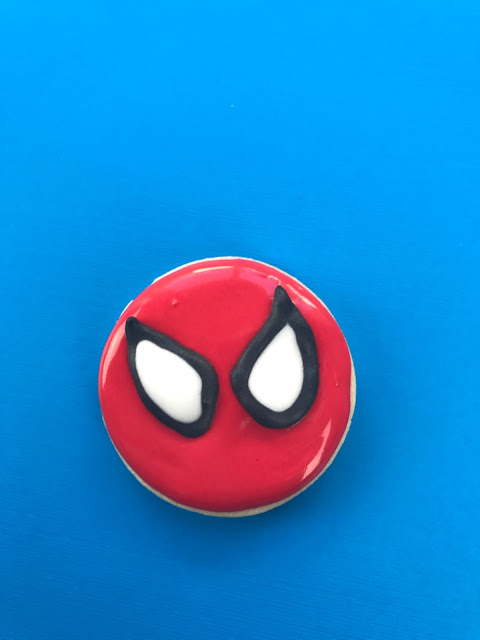
While the red icing base is still quite wet, gently place the eyes into position. Since the icing is wet and you don't have the web piped, you can move the eyes as needed until it's perfect for you.
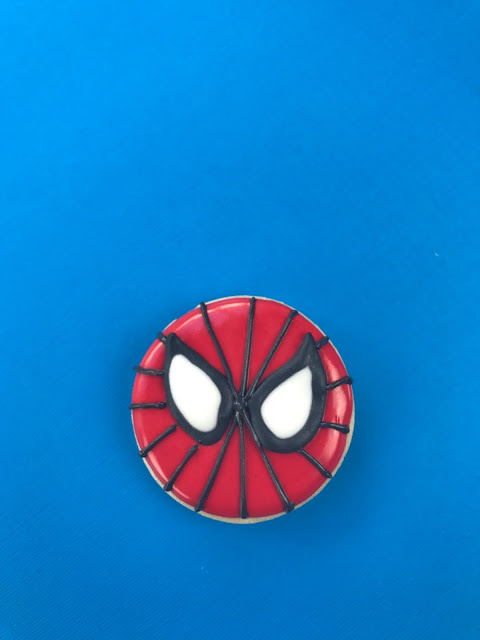
Now you can either pipe the web while the cookie is wet or wait until it has crusted over. I piped mine while the Spiderman face was wet and didn't have any bleeding issues. First pipe the lines of the web, centered between his eyes.
Come back and finish the web with cascading lines in a circular motion. Hi, Spiderman! You are all done. Wasn't that easy as pie? Your little Green Goblins will devour these in no time and will be off to fight crime ridden playgrounds.
Do you need a royal icing recipe? Jump on over here to see the one I use every single week!
Maybe your kids favor Batman? I have some cookies and cupcake toppers for the dark knight as well.
Come watch the fun movie - just click the photo above to see me create the cookies.
Jenny
Apple Cream Cheese Turnovers
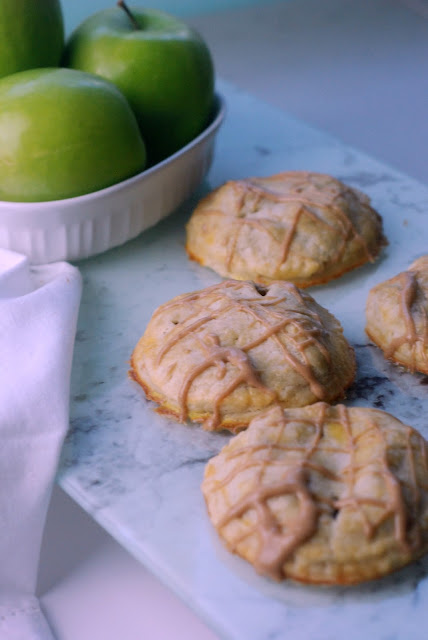
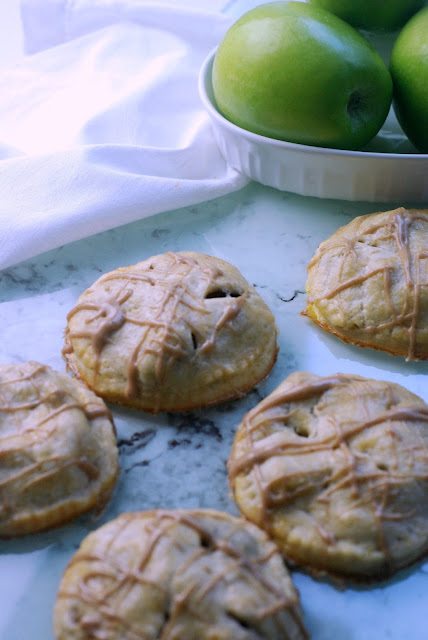
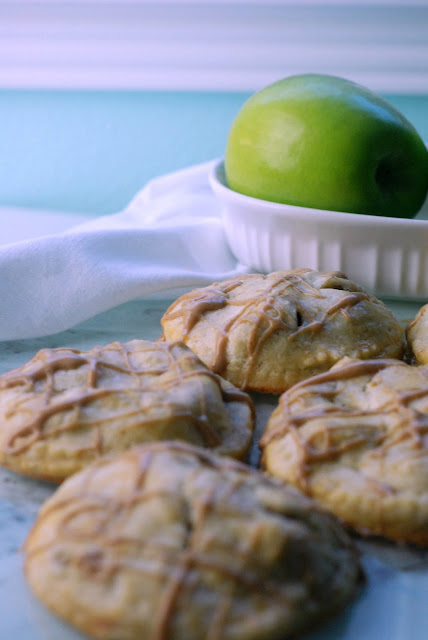
What's more delicious than an apple cream cheese turnover? Or are these hand pies? Is there a difference? I'm not sure, but I do know that this is my new favorite pastry breakfast. These turnovers are chock full of spiced apples and fluffy cream cheese that melts in your mouth. The flaky crust is drizzled in a thick cinnamon cream cheese icing and is the perfect amount of sweetness.
These turnovers come together quickly and can be made in the morning before your family rises, but they are also delicious cold from the refrigerator with a hot cup of coffee!
Apples
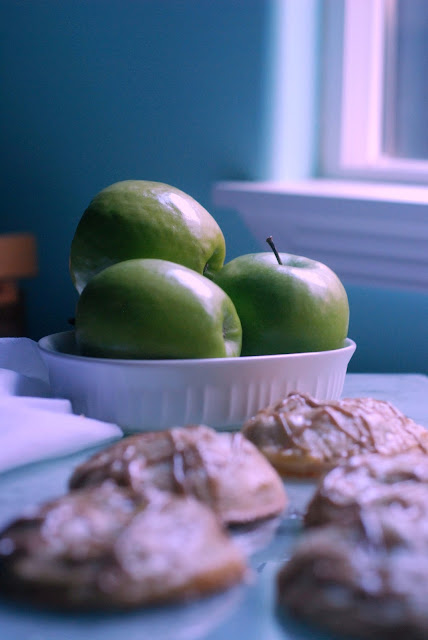
I made these turnovers with tangy Granny apples. I wanted an apple that could be baked without becoming mushy and one that had some tang to cut the sweetness. These were perfect! They are coarsely chopped and spiced with cinnamon and nutmeg. You want to cook your apples until they are softened, but not completely broken down. My kids kept sneaking bites out of the pan - little stinkers!
Crust
I used my favorite pie crust for these turnovers. It's an excellent recipe from Six Figures Under and I usually have several crusts in the freezer at any given time. I used this same recipe for my popular peach hand pie too! You can use it for savory dishes as well - I love it in my chicken pot pie. It is a shortening based dough - if you are new to crusts, you will appreciate it's forgiving nature.
Yum
Apple Cream Cheese Turnovers
By Jenny Rodriguez
These flaky turnovers are filled with cinnamon spiced Granny apples and layered with fluffy cream cheese. Incredibly delicious and perfect for a Sunday morning.
Prep time: 20
Cook time: 20
Total time: 40
Yield: 5 large turnovers
Ingredients:
2 raw pie crusts (store bought or homemade)
1 tbsp butter
2 small Granny apples, peeled and coarsely chopped
2 tbsp + 1/4 cup brown sugar
1 1/2 tsp cinnamon
1/4 tsp ground nutmeg
2 tbsp all purpose flour
1/4 cup white sugar
1 tsp vanilla extract
4 oz cream cheese, softened
1 egg
1-2 tbsp milk
Instructions:
Kids in the Kitchen
Since I have 3 kids at home, I try to get them in the kitchen as much as possible. In baking there truly is a ton of science and precision needed. And well it's yummy and fun. I also find they open up about what's on their mind while our hands are busy making meals.
There are several steps in this recipe that can be done by kids of various ages. They can pick the apples, peel them and chop them coarsely. Have them add the spices and whip the icing, too. Such amazing life skills and bonding moments with a delicious breakfast when you're done.
XO,
Jenny
Patriotic Cupcakes
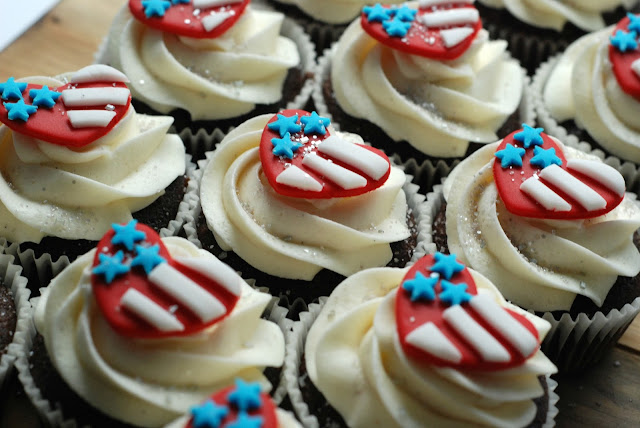
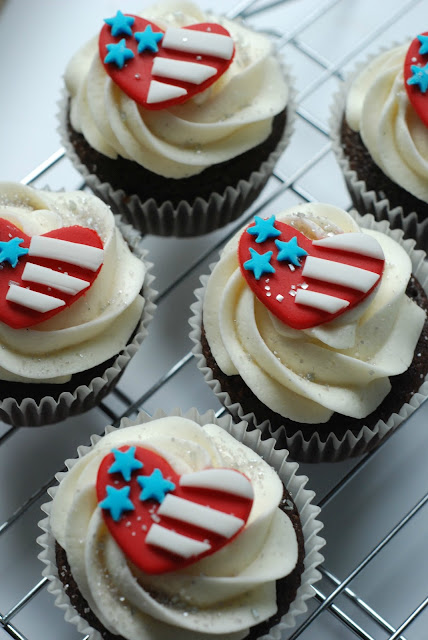
This week I made a batch of patriotic cupcakes for one of our most favorite neighbors. Ron and his wife live across the street from us and are just the most amazing friends. My son runs over there daily to see what Ron is up to and sit on the porch with him. They spoil my kids rotten and are always looking out for us. When I heard that he was turning 75. I wanted to make something special for him and to honor him as a Vietnam Veteran.
I love making fondant cupcake toppers right now. It's such a low stress way to play with fondant and learn more about it. The toppers are easy to make and can be easily peeled off if it's not your favorite flavor; there is a generous mound of delicious buttercream underneath!
Aren't they so sweet? They are also crazy perfect for the 4th of July! You still have time to whip these up and enjoy while you watch the fireworks.
Materials
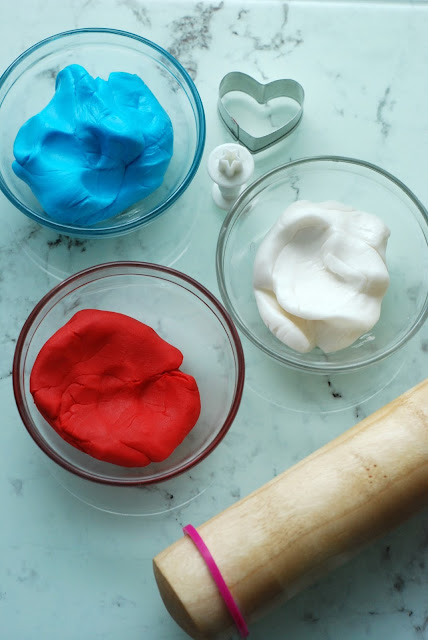
- fondant
- food gel color (Americolor sky blue and super red)
Tools
- small heart cookie cutter
- star fondant extruder
You will just need about a fist sized amount of fondant to create these American flag heart toppers. Split it up into 3 bowls and dye two of them blue and red. I always wear disposable gloves when I work with fondant, especially during the dye time. Fondant picks up any dust available to it and the dye will leave your hands colored for days!
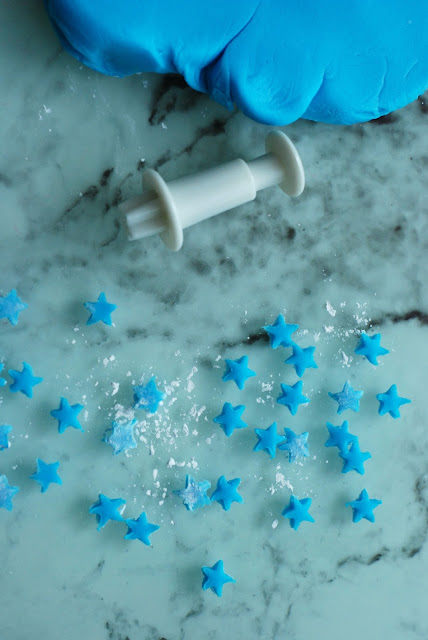
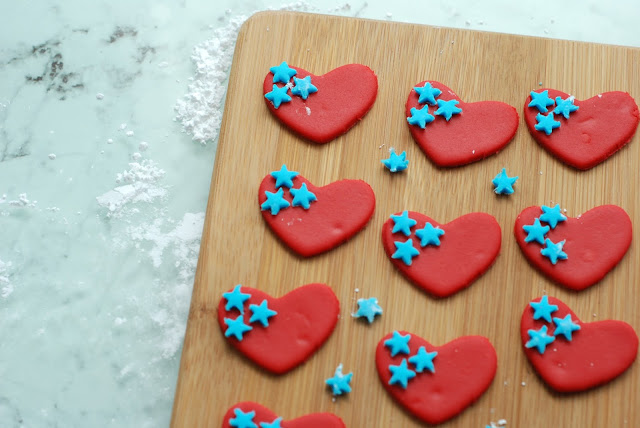
Roll out your blue fondant to about 1/8" thick and with the star extruder, punch a ton of stars out. I used 3 stars on every heart topper. You may want to punch extra out just in case. Set them aside in a dark, cool spot to dry and stiffen up.
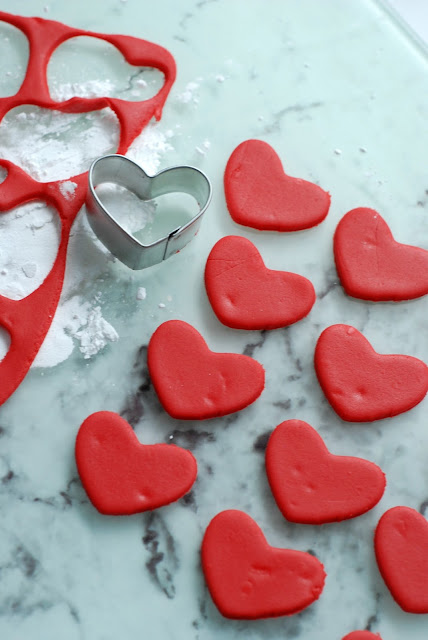
Roll out your red fondant to somewhere between 1/4-1/8" thick and create hearts with your cookie cutter. Just cut out as many as needed and you can soften the edges with your fingers tips if needed. If you have left over fondant, cover it with Crisco and keep in an airtight Ziploc for later use!
Carefully paint a small dab of water on the left side of the red hearts and press the blue stars down. The water acts as glue for fondant, but you really only need the smallest amount or you will have a mess! Aren't they so fun already?
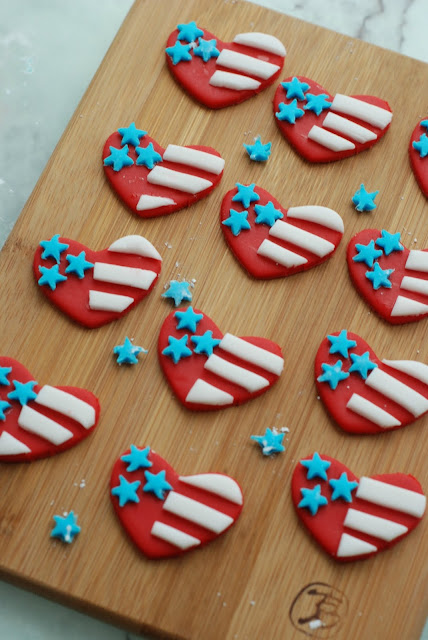
Now it's time to add stripes to that ol' American flag! Roll out your white fondant to 1/8" thick and cut out hearts with the same cookie cutter. Using a very sharp knife, slice the hearts in half and then stripes. Each half heart will give you enough strips for 2 red hearts - you need to leave space for the "red stripes".
Just like the blue stars, paint a small bit of water on the right side of the heart where you will be placing the white stripes. Gently add the stripes and press them down.
Set these yummy cupcake toppers aside to stiffen up. You will want to place them on the cupcakes right before serving. The buttercream softens the fondant quite quick and you don't want a soggy topper!
Ron just loved his patriotic birthday cupcakes and I know that your guests will love these as much on the 4th of July! They are sweet, easy and beaming with American pride.
Happy 4th of July!
XO,
Jenny
Subscribe to:
Posts (Atom)


