


Confection Connection - Circus Cookie Set
Have you had a chance to watch all the videos from this month's cookie set by the Confection Connection? These were so fun to create with my cookie artist friends. I'm already drumming up theme ideas for the end of July. Do you have a suggestion? Email me - I would love to hear from you!

Yesterday I presented you with my circus tent and ticket tutorial. Wouldn't these be perfect for a school carnival or circus themed birthday party? They are fun and easy! And I think that ring leader hat would be awesome for a magician too!

My friend Tiffany of Baking with Best, made such delicious carnival themed food that would be perfect for so many different cookie sets. That pretzel would be fun paired with beer for Father's Day and the snow cone is so patriotic, perfect for this weekend's Fourth of July parties.

Brooke of Brookie's Cookies created the sweetest lion that you could ever imagine trying to tame. I love the extra sparkles on his mane. And wouldn't these also be perfect for a "Wizard of Oz" themed party? I can just see him with a little Dorthy.

And last, but not least I think Zoe of Miss Doughmestic has ended my crazy fear of clowns. How sweet and colorful are these guys? I love all the rainbow colors and their happy expressions. Such a fun little cookie that would be a perfect for any birthday celebration.
If you haven't already, be sure to stop by YouTube to watch all these yummy cookies created before you!

Confection Connection - Circus Cookie Collaboration
I am so excited to tell you about the collaboration I am a part of - Confection Connection. I have teamed up with Baking With Best, Brookie's Cookies and Miss Doughmestic. We will be bringing you amazing themed cookie tutorials every month on YouTube and our blogs. This month we are headed to the circus for cotton candy, clowns, lions and circus tents!
Today I am presenting circus tickets and carnival tents, easy and fun. Stop by my Instagram later this week to see the easy big tent hat!
Circus Ticket

Materials
- rectangle cookie with corners chopped
- Americolor sky blue in flood consistency
- Americolor super red in thick flood consistency
- white in thick flood consistency
Carnival Tent

Materials
- dog house cookie cutter (I bought mine at Ann Clark)
- Americolor super red in flood consistency
- white in flood consistency
- Americolor sky blue in flood consistency
- Americolor gold in flood consistency
Want to see the cookie decorating in action? Click on over and watch the video! Let me know if you have any questions!
Need a great royal icing recipe? Click here for my favorite one!
Be sure to come back tomorrow for more circus fun from Brookie's Cookies.


Cotton Candy Cookie and Buttercream Icing Recipe
What is your favorite summer memory? My kids love swimming, hiking and going to amusement parks. They love going on rides and eating ridiculous amounts of cotton candy. And my mom has a thing for cotton candy, too. I finally looked into what it would cost to buy a small cotton candy machine and I was surprised to learn that it wasn't expensive. I bought this really cute and small one on Amazon. It is pretty much the perfect size to create enough for the family and not be bothersome to store away.

One of my frequent requests is for a roll out cookie recipe. I will be publishing my favorite traditional recipe later this year, but it's summer time and I thought it would be fun to experiment with new flavors (ahem, cotton candy).

These delicate, sweet cookies are so fun to make and your children will be excited over the secret ingredient. I think these would be lovely to serve at a summer tea for you and your child. There is a wide variety of cotton candy floss that you could use as well; I used cherry and it gave the cookies such a sweet, light pinkness. Are you ready to try out these sweet treats?

Cotton Candy Cookie Recipe
Ingredients
- 2 cups softened butter
- 2 cups white sugar
- 2 eggs
- 1 tsp vanilla extract
- 1 tbsp cotton candy floss
- 1 tsp salt
- 6 cups flour
- 1/2 tsp baking powder
Instructions
- Cream butter and sugar together in a standard mixer for about 2 minutes.
- Add eggs, candy floss and vanilla; blend just till incorporated.
- In a separate bowl, blend flour, salt and baking powder. Gently add to the dough and mix until well blended.
- Chill dough for one hour in the refrigerator. Roll out dough 1/4"-3/8" thick. Cut desired shapes and bake at 350 for 9-11 minutes.

What is my secret to that beautiful rosette icing? It's so easy! You just need a 1M icing tip. Start in the center of the cookie and move in a circular position. That's it - it is so easy and you will want to decorate roses on everything!
Cotton Candy Buttercream
Ingredients
- 1 cup softened butter
- 1 teaspoon vanilla extract
- 1 tablespoon cotton candy floss
- 4 cups powder sugar
- 2 tablespoons milk
Instructions
- Beat butter in a standard mixer for about 2 minutes.
- Add vanilla and cotton candy floss.
- Slowly add in powder sugar and milk. Whip frosting for about 5 minutes until it is light and fluffy.

Are you looking for more summer fun? I've teamed up with some amazing bloggers - come check their projects out!
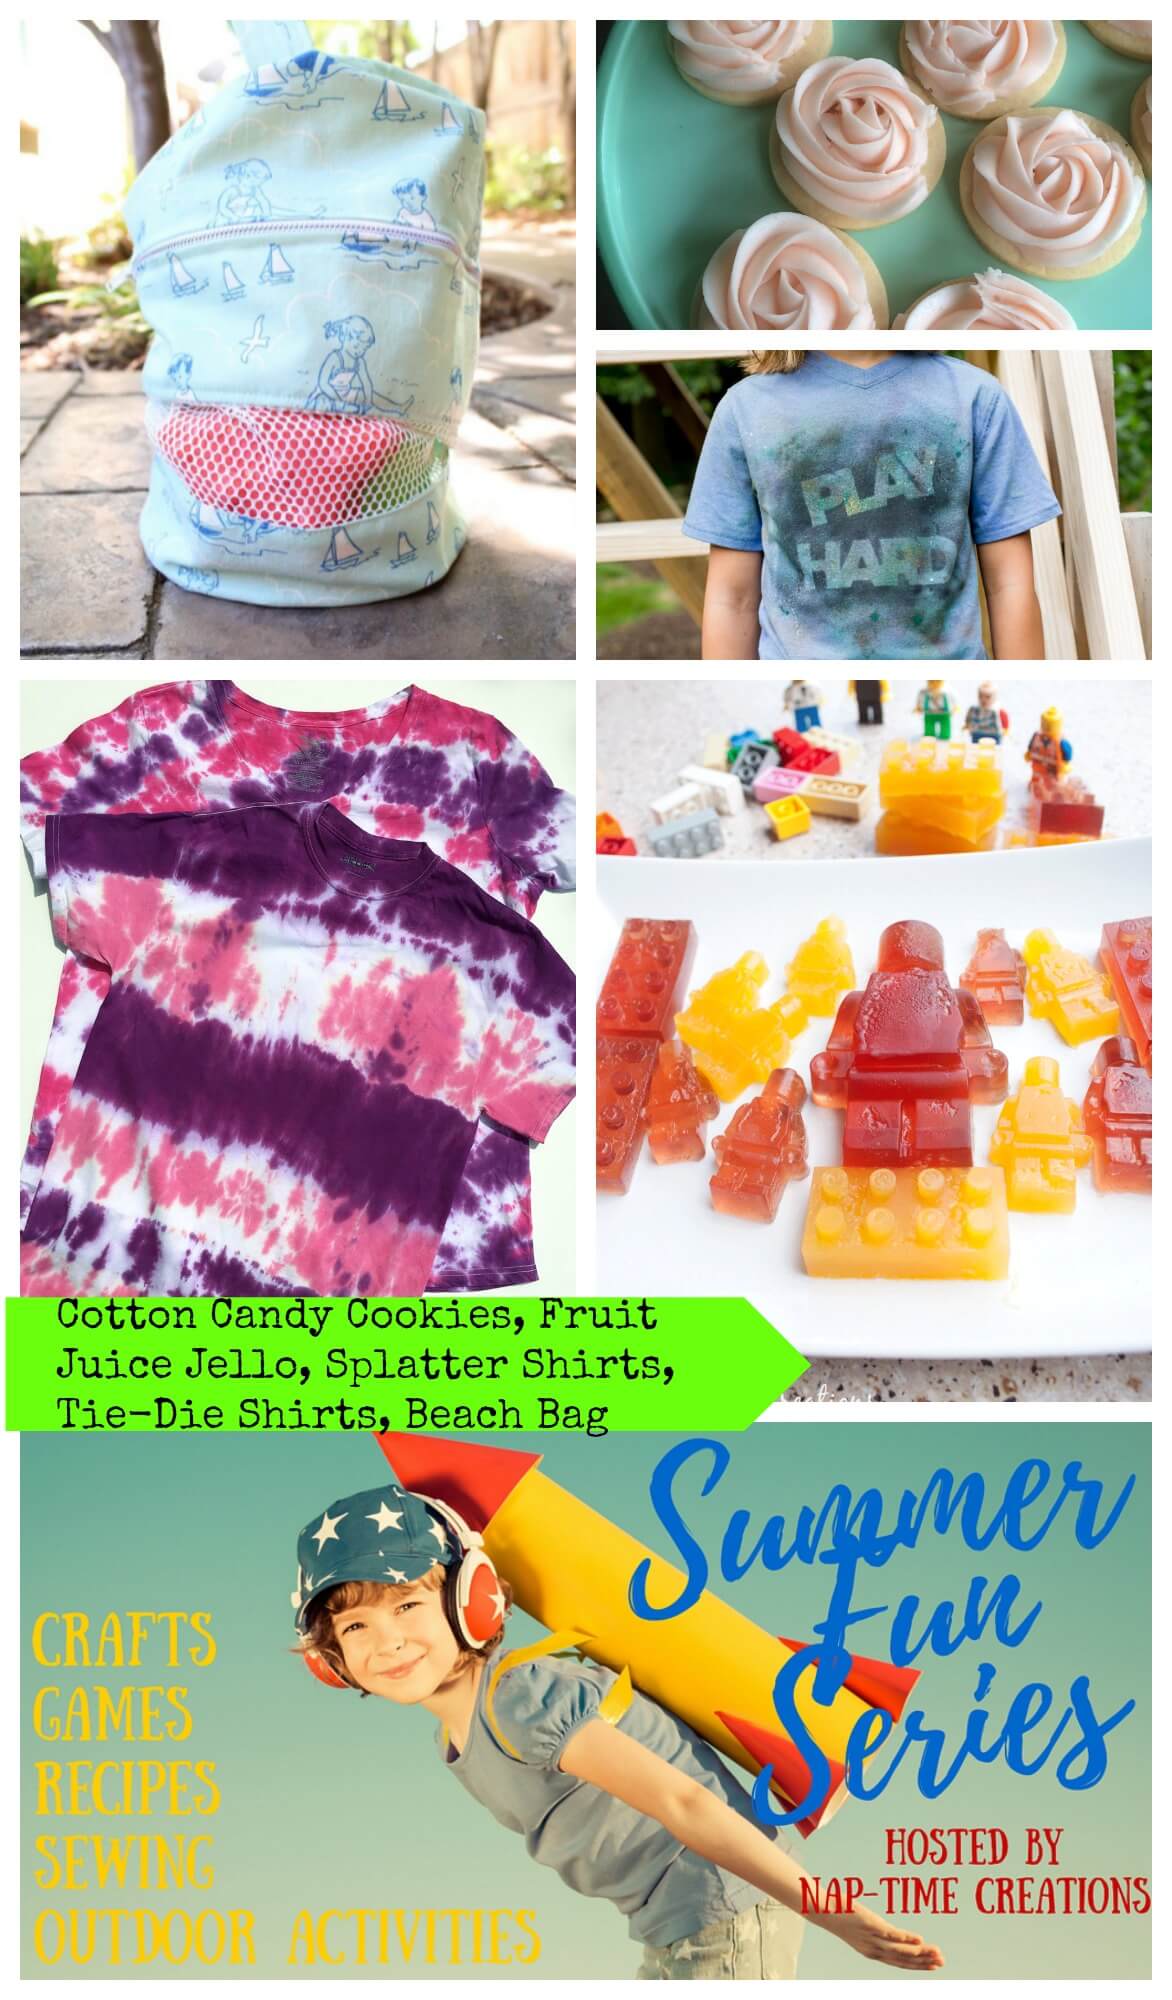
Fruit Juice Jello Lego Snacks - Nap-Time Creations
Zipper Beach Bags - Sew What Alicia
Splatter Shirts - Andrea's Notebook on Nap-Time Creations
Cotton Candy Cookies - Sweet Jenny Belle Bakery
Tie-Dye Shirts - Craft Critique
Easy Desert Bloom Potholder

Last month I had the awesome opportunity to collaborate with Amanda Herring as she released her new fabric line, Desert Bloom. Amanda was presenting the line at a retreat and needed some beautiful cookies to give the attendees as gifts.

Aren't these beautiful? I loved creating cookies with her fabric design - I heard they were a hit! I couldn't wait for the chance to sew with her new fabric line. I thought it would be fun to create some potholders since everyday I have hot pans in my hand. Do you want to make them? They are easy!
Materials
- Batting: (2) 8" squares and (1) 6"x 8"
- Desert Hexies Blue: (2) 8' squares, (1) 6"x 8" and (1) 3.25"x 8"
- Desert Poppy Blue: (1) 3.25"x 8"
- Desert Stripe Red (1) 2.5"x 40" and (1) 2.5"x 8.5"
Directions
- Pin the desert hexies blue 3.25"x 8" to the desert poppy blue, 8" sides right sides together. Sew with a 1/4" seam allowance and press.

- Lay the desert hexies blue 6" right side down, layer with the 6"x 8" batting and then the pieced pocket top right side up. Baste all sides with 1/8" seam allowance. Quilt if desired.

- Fold and press the desert stripe red 2.5"x 8.5" to create a binding. Pin the raw edges of the binding to the raw edges of the pocket top. Sew the fabric pieces together with a 1/4" seam allowance and press to the back, stitch in the ditch to secure the binding to the back.

- Lay one 8" desert hexie blue right side down, layer the two remaining batting pieces and the last 8" desert hexie blue on top, right side up. Place the pocket right side up, bottoms lining up. Pin and baste with 1/8" seam allowance.
- Fold and press the desert stripe red 2.5"x 40" to create a binding for the potholder. Pin the binding, raw edges together to the perimeter and stitch with a 1/4" seam allowance. Press the binding to the back and stitch in the ditch.

And that's it! Isn't it super cute? I think this potholder, a dozen cookies and a beautiful wooden spoon would make the most perfect hostess gift! I hope you try this easy sewing tutorial and of course some coordinating cookies.
XO,
Jenny

Cookie and Mixbook Giveaway!
Have you enjoyed the scuba decorated cookies series this week? I hope I've inspired you and have been able to teach you a new trick or two. I'm so excited to give these to my dad for Father's Day! Every year I gift him a special set of cookies and a photo book. I take so many photos and love to share them on social media, but I rarely print them out. My Dad knows each year I will gift him a book that has all our family photos from the past year.

A few months ago my scuba loving dad traveled to Fiji for an amazing diving adventure - sunken ships and beautiful sea life. I know he had an amazing time and was so excited to share that with my children with his photos. I knew that creating a photobook of his adventure would be the perfect gift for this Father's Day!
I met Mixbooks at the SNAP convention back in April and have really wanted to collaborate with them. I saw their high level of quality that had been missing in books I've ordered from other companies. The printed color is true and gorgeous clarity!

And now you can win too! Mixbook and I are sponsoring a giveaway below for $50 credit for any of their amazing products and dozen of my cookies in the theme of your choice. You can create a photo book for dad, a calendar of your kids or get started on holiday cards! I know you will love working with them and be thrilled with the quality.
a Rafflecopter giveaway

Scuba Decorated Cookies - Part Two
Today I'm diving into the softer palette of the ocean in my scuba themed decorated cookies. When I think of the ocean and beach, I think of soft sand and searching for shells. The color palette is muted tans and palest blues. This color palette and imagery is so calming, isn't it? You can almost hear the waves crashing. And there is something so beautiful about a starfish.
This sweet guy could be perfect in bright hues for Little Mermaid or Finding Dory themed cookies too. Want to learn how to make these pale beauties?
Materials
- starfish cookie (I've had mine forever and not sure where it's from, but they are common)
- flood icing in: white and sandy (Americolor ivory and a touch of warm brown)
- Petal crafts color dust in Palette B - I think this is the cyprus color. The chart is crazy!
- food only paintbrush
Directions

- Flood the cookies in sandy icing and allow to dry 8-10 hours or sit in the dehydrator for 10 minutes at 90 degrees. Need a good royal icing recipe, click over here!

- When the cookies have completely set, you will darken the perimeter of the cookie with petal dust in the cypress shade. This is a dry brush technique - though if you want it to be darker, you can dip your brush into vodka or clear vanilla.

- Using the white flood, add a few medium sized dots in the center of the starfish. You can be sporadic like me or choose a fancy design.

- Fill in the rest of the starfish with smaller sized dots in the sandy flood icing.

And that's it - gorgeous soft beach themed cookies. Have any questions, let me know! Want to see those shells created? Jump on over to my Instagram page.
Come back tomorrow more the whole Scuba Dad cookie set!
XO,
Jenny

Scuba Decorated Cookies - Part One
Father's Day is around the corner and it's a big deal here for my husband and dad. I love to make them decorated cookies and customized gifts. My kids love to create things for them as well. It's so important to let the people that love and protect you, know just how much you appreciate and love them.
Many of my cookie friends are starting to reveal their Father's Day sets. I love all of the barbecues, ties and golf. But my dad is a master scuba diver now and that's pretty cool! I love that all my life he's shown me that education is its own reward. He recently traveled to Fiji with several scuba friends for an amazing week of dives. I thought it would be perfect this year to create cookies of a scuba nature.
Now unfortunately I don't always plan in advance and I didn't have time to purchase scuba stencils. I could have done a royal icing transfer, but I thought this would be a great time to show you how easy it is to create your own stencil!

Materials
- images in the size you want to cut
- dura-lar in .005 thickness
- stencil cutter - I found mine at Hobby Lobby

Since I like to use a Stencil Genie when I airbrush, the first step for me is to frame my genie around the image and material. This way I will know the image will be centered and easier to place on my cookie.
For my stencil cutting setup, you have to create a sandwich in this order: image to copy, transparent cutting mat and then the stencil material. You will be able to see the image clearly and the mat is not slippery, so it doesn't move around.

And then cut! It's really easy, isn't it? There is the slightest smell, so I open a window right by where I am cutting. You could also easily take this project outside to cut. The tip on my cutter is only active when I activate two buttons and cools quickly!

And you are done! Just pop out the positive image and your are good to go. You can use the stencil for airbrushing or icing spreads. These stencils will be more effective with images that are not too detailed.

Want to see the airbrushing stencil in action and done only with one hand? Come join me on SnapChat! I walk you through the steps and if I can do it holding my phone, you can do it too! Search for "sweetjennybelle" and add me, I'll add you too!
Did you like those starfish? I'll post the step by step tutorial tomorrow or join me on Facebook and you can watch my tutorial video!
Are you looking for a royal icing recipe for your cookies? Click on over here!
Thanks for joining me and come back tomorrow for more scuba fun!
XO,
Jenny
(There are affiliate links on my blog. What does that mean? It means I am paid a small percent when you make a purchase. The purchase does not cost you extra. It helps support my business and the ability to more cookie cutters. And we all benefit from that.)

I Want S'more Campfires Cookies
I hope you have enjoyed this camping series of decorated cookies. I think they would be so fun to make for a summer birthday, for your troop of scouts or for a family camping trip. Cookies are a perfect dessert to take with you this summer since you don't need refrigeration and they pack well!
Do you want to make these campfire cookies? They are pretty easy and everyone loves them! My favorite part of camping has always been the dinners and desserts roasted over the open campfire. Here is a quick video of how I made mine.
Materials
- round cookie
- flood icing: black, red, orange and yellow
- soft piping: chocolate brown, tan, grey, and green
- americolor white (for splattering star effect)
- food-only paintbrush
- toothpick, cookie scribe, or turkey lacer.
Directions
- Flood your round cookie in black icing and allow to set. Then using a food-only paintbrush, splash a few drops of americlor white on to the background. This will give the appearance of a dark, starry night.
- Next using chocolate brown, ice two intersecting campfire logs. With your tan icing, frost two large ovals on the bottom ends of the logs and a few jagged lines on the logs to create the look of wood. Add a small swirl of chocolate brown in the tan ovals.
- Pipe a few rounds of grey around the campfire - avoid the top, that's where your fire will go. Add a few lines of green grass near the stones.
- Allow everything to dry - you can quicken the time by placing it in a dehydrator for 10 minutes at 90 degrees F.
- Add a large raindrop of red in the center of the two logs. Then add some orange and yellow in the middle. Using a sharp toothpick or tool of your choice, run it through the center of the fire and feather it up and out to create the illusion of flames.
- Allow the cookie to dry overnight or 8-12 hours.
Thank you so much for joining me! Did you see the other camping cookie tutorials? I have one on fireflies here, another on camping lanterns here and my favorite royal icing recipe can be found here. If you have any questions, please let me know!
Come back next week for series on all things bubbly and fishy..
XO,
Jenny

Camping Cookies - Firelies in a Jar
I'm going to confess - as many times as I've been camping, I've never seen a firelfy, let alone capture one in a sweet mason jar. However, I love the idea of them and the magic they must illicit in young children. And I do believe that all beautiful things are those that are wild & free.
I created these fireflies as a royal icing transfer on Facebook live. Have you joined me for a live tutorial? They are fun and messy and full of real life - so if you have any desire to see a behind the scenes, be sure to like my page and keep an eye out for my live demos.
Royal icing transfers are awesome! I sketch on the back of parchment and ice on the top. You could do accents, letters, and more. If you mess up, no big deal - it's not on the cookie yet! This is an excellent way to practice and try new things out. I do suggest making more than you need because they can be fragile. Once they are iced, let them dry for a couple hours. Store the leftovers in an air tight container - they last forever!
This ampersand is so easy and there are so many themes you could create with it. I purchased the cutter at Semi Sweet Mike. I iced the background in a neutral white, but you could leave it naked if you didn't want that much icing. What would you fill in?
Wild & Free
You & Me
Now & Forever
Have you seen the other camping cookies? Try out these fun camping lanterns or sweet glamping trailer!
Do you need a good royal icing recipe? Try out my favorite here!
Subscribe to:
Posts (Atom)
