Jedi Baby Shower Cookies
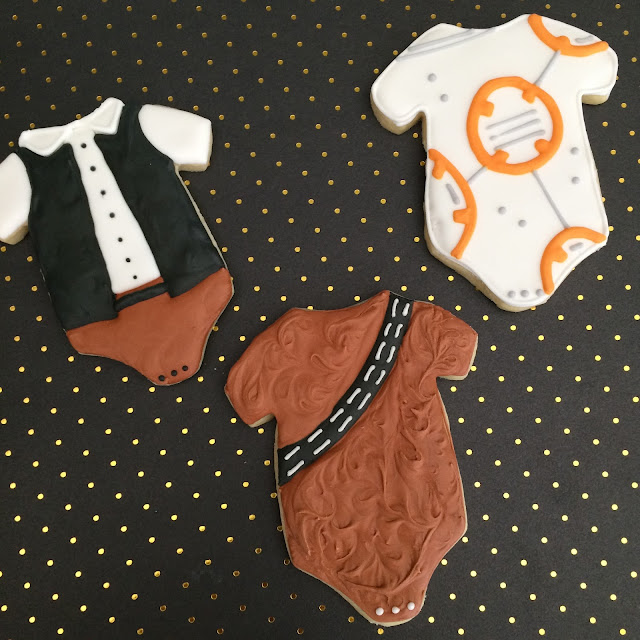
What's better than a traditional baby shower? A shower for the future Jedi, light saber wielding baby, of course! I was so excited when my best friend asked if I could create Star Wars themed baby shower cookies. Karen of Desert Chica has created an amazing themed baby shower blog post full of easy and fun ideas for you! Come check out her BB-8 Diaper Cake, Jedi baby shower banner and more!
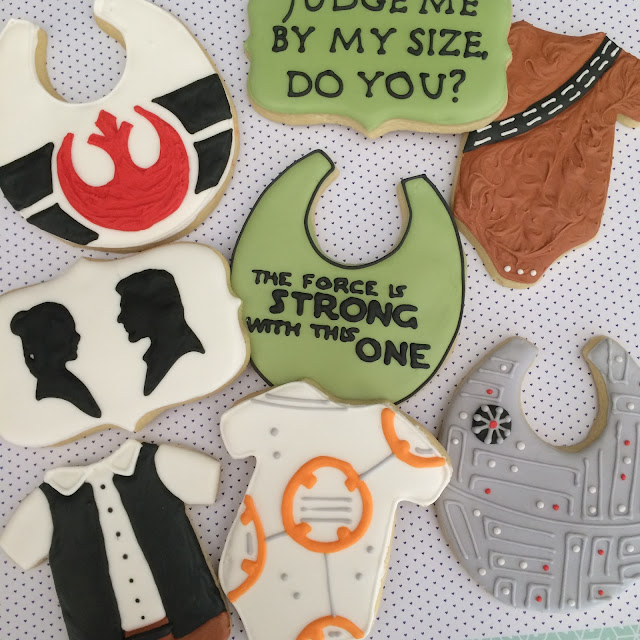
Baby onesies for everyone! Come to the dark side or become a Jedi, we have delicious cookies for all. I have been designing a sweet Princess Leia one, too. Can't you just picture a wee Yoda? These are so easy and were fun to design.
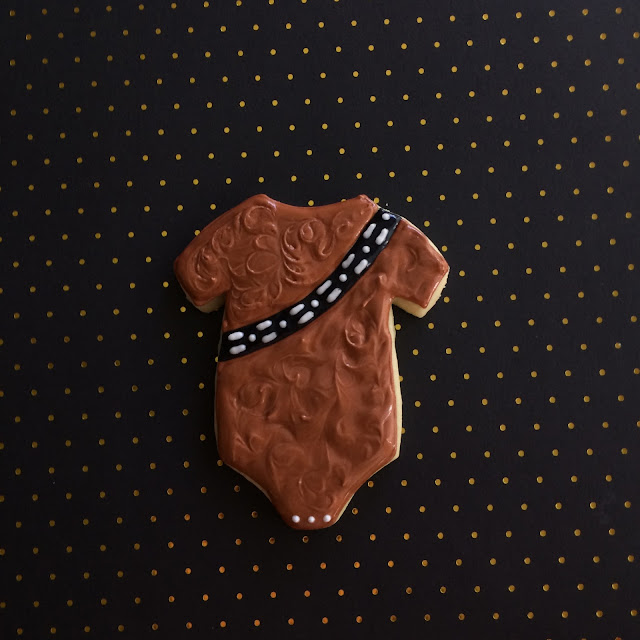
Do you want to learn how to create a Star Wars onesie cookie? Of course you do! Let's create the baby Chewbaca together. I can just see hear his little growl now.
Do you need an awesome royal icing recipe? Click here and read up on the one I use! You will love it; let me know if you have any questions on creating it.
Materials Needed:
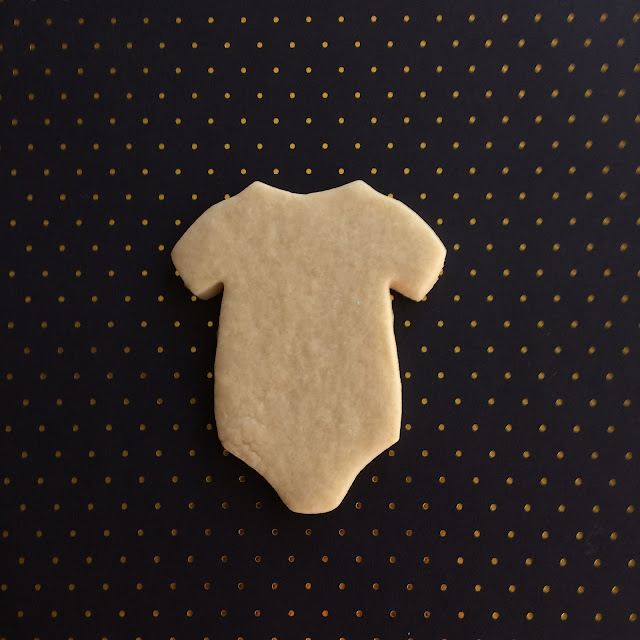
- Onesie cookie
- Brown icing - thick flood
- Black icing - flood
- White icing - stiff
Are you ready? Let's begin!
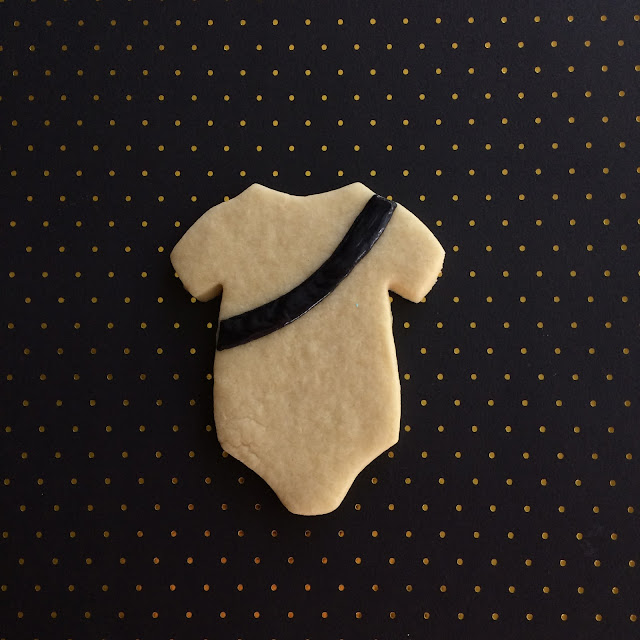
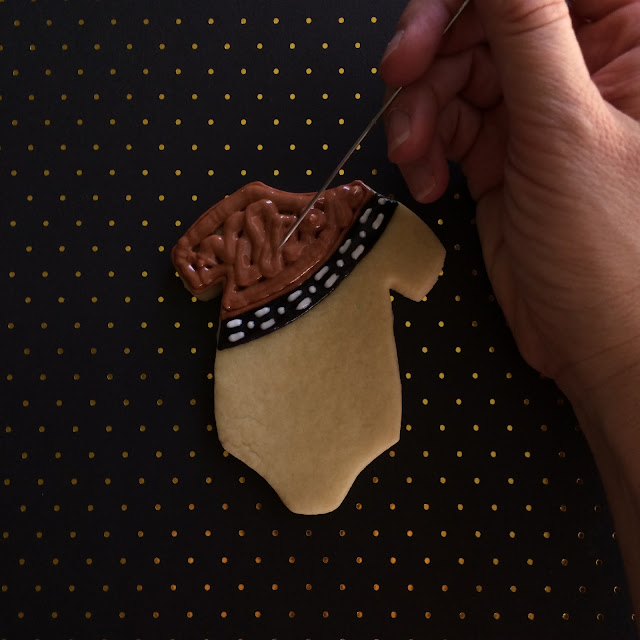
1. Pipe Chewbaca's black amo band across his chest.
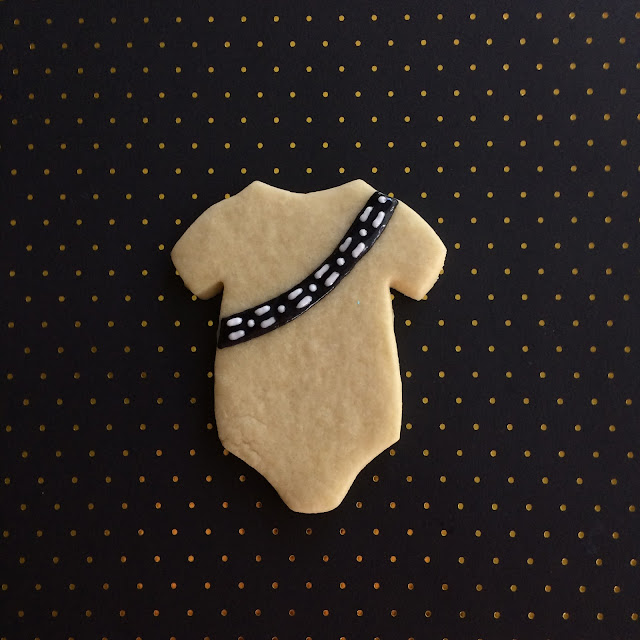
2. Pipe two rows of white bullets on the amo band; you can wait till the band sets or place while wet.
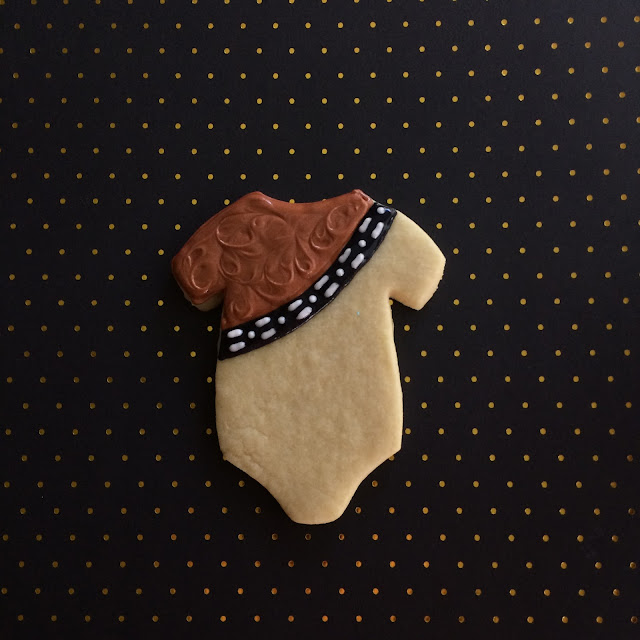
3. Outline and squirt the thick brown icing in the top part of the onesie. It is not intended to flow down, so this is a great cookie idea if you are still getting used to icing consistency.
Using a toothpick or cookie scribe, swirl the brown icing around to mimic the look of Chewbaca's soft fur.
See? Cool, huh?!
4. Pipe 3 small snaps at the bottom of the onesie and you are done! Can you believe it? So easy and so fun!!
Like my bibs? So fun and easy! Perfect for the Star Wars lover in your life.
I hope my tutorial was easy for you. If you have questions, please let me know.
Looking for more Star Wars themed cookies?
Harry Potter Cookie Tutorial and Giveaway
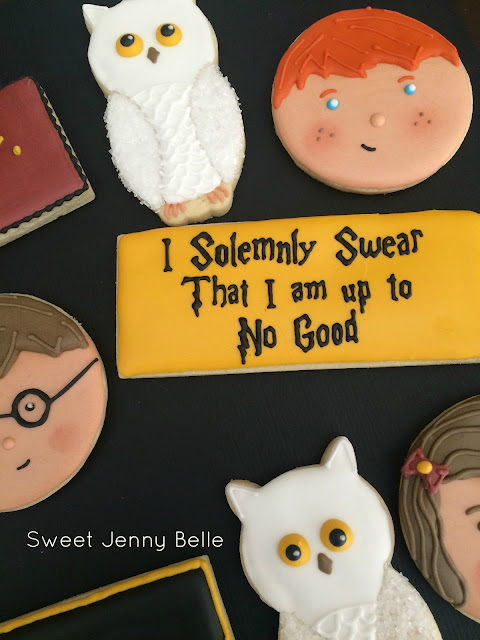
When my dear friend Marissa of Rae Gun Ramblings asked if I wanted to contribute to her annual Happy Harry Potter blog party, well there was no question about it. Days full of tutorials and giveaways dedicated to one of my favorite book and movie series? Yes, please!
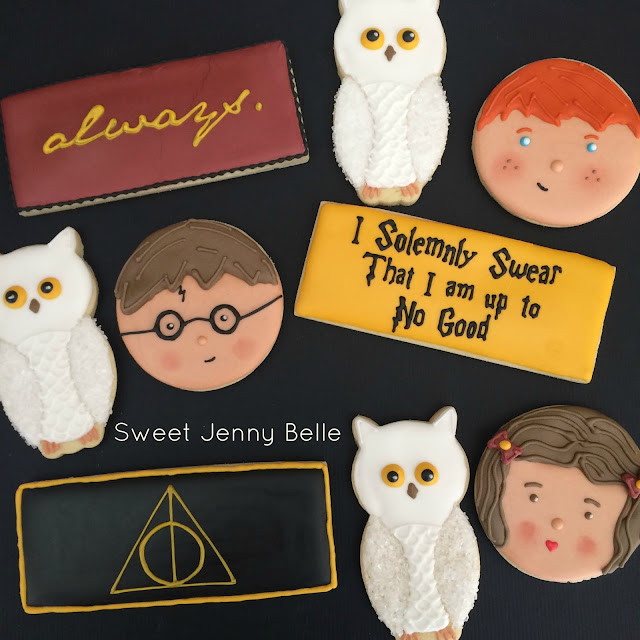
I think Hedwig maybe my favorite cookie and the pictures do him such little justice. His little owl wings are full sparkly sugar. And well the quote cookies can't help but break your heart a bit. Why does a good series have to end?
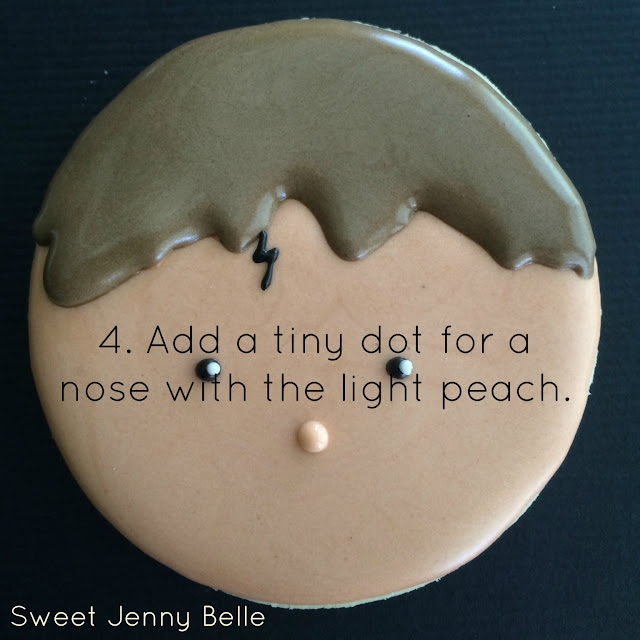
Do you want an easy and fun Harry Potter cookie decorating tutorial? I know you do! Come on and let's have some fun. The Ron and Hermoine cookies are quite easy too - just a few changes and no special cookie cutters!
I have to say this maybe my favorite cookie set. Wait, I think I always say that. But how sweet is that little train to Hogwart's? Wouldn't it be perfect for the wee Harry Potter lover in your life?
Would you like to win this cookie set from me? A dozen Harry Potter cookies shipped to you as the bakery schedule allows (if you win, this means contact me soon because my weeks book up quick!)
Do you want an easy and fun Harry Potter cookie decorating tutorial? I know you do! Come on and let's have some fun. The Ron and Hermoine cookies are quite easy too - just a few changes and no special cookie cutters!
Materials Needed
- round cookie
- light peachy flesh icing - flood consistency
- warm brown icing - flood consistency
- black icing - medium piping consistency
- white icing - medium piping consistency
- pink petal dust (if you want to add rosy cheeks)
Instructions
I have to say this maybe my favorite cookie set. Wait, I think I always say that. But how sweet is that little train to Hogwart's? Wouldn't it be perfect for the wee Harry Potter lover in your life?
Would you like to win this cookie set from me? A dozen Harry Potter cookies shipped to you as the bakery schedule allows (if you win, this means contact me soon because my weeks book up quick!)
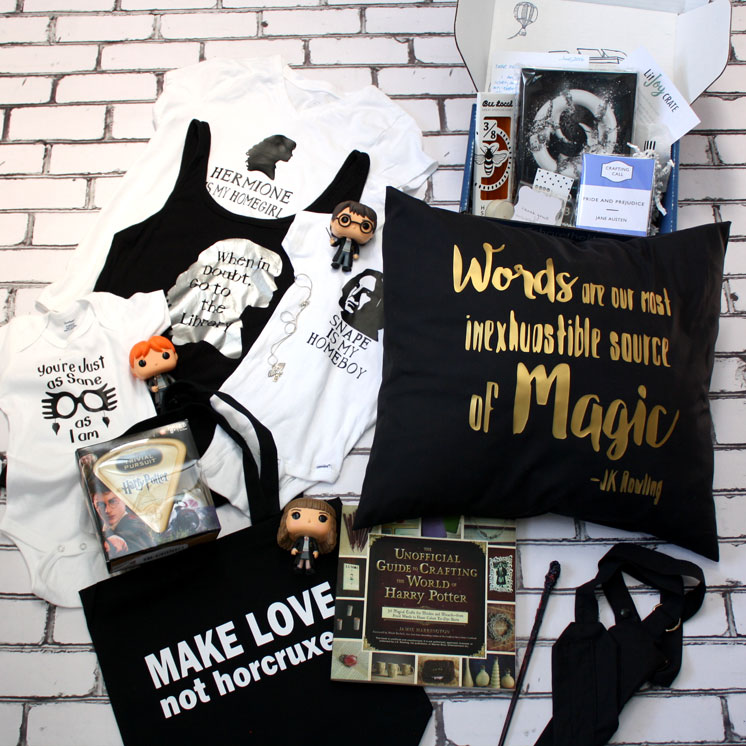
Prize Pack #2
See more about each prize and sponsor at this giveaway post and be sure to enter the other equally awesome prize pack while you're there! Winner must have a US address or be willing to pay for international shipping.
- Black Wand Holster and Magic Wand (toddler, child, and adult sizes available)
- Character Shirt (Choice of Snape, Hermione, or Luna)
- Make Love Book Bag
- Words are Magic Quote Pillow
- The Unofficial Guide to Crafting the World of Harry Potter
- Personalized Hogwarts Acceptance Letter
- World of Harry Potter Trivial Pursuit
- One Dozen Harry Potter Cookies
- Hedwig Owl Post Necklace
- Lit Joy Crate June Box
- Harry Potter Character Funko of Choice (restrictions apply)
- 10$ Worth of Harry Potter Art Prints
- Classic Maillot Swimsuit SEWING PATTERN
a Rafflecopter giveaway
Mexican Hot Chocolate Sugar Cookies
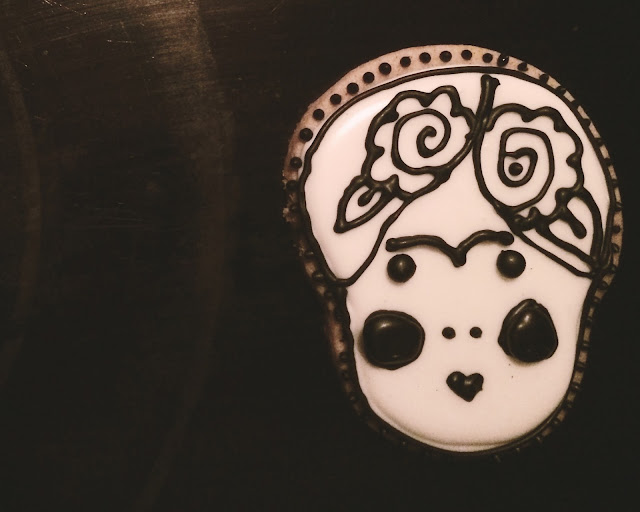
Did you know today is Frida Kahlo's birthday? She is my favorite artist for so many reasons. I think she resonates with many modern women because of her efforts to create through personal pain and strife, to stay true to her authentic voice and in that journey she broke molds of what defines beauty and art.
To celebrate Frida's birthday, I wanted to share a cookie recipe I created a few weeks ago - Mexican hot chocolate. The cookie is rich and chocolatey, when you swallow there is a slight heat that tickles your throat.
The dark chocolate flavor comes from the inclusion of black cocoa. You need to cut the black cocoa with the traditional dutch cocoa to give it the full, deep flavor. Your cookies will be dark and breath taking.
This recipes create a wonderful roll out dough that is perfect for your cookie cutters. It needs minimal chilling time and I had close to zero spread. If the chipotle spice is not of interest to you, simply leave it out and you will still have a delicious chocolate cookie!
Mexican Hot Chocolate Roll Out Cookies
Ingredients
- 1 1/2 cup granulated white sugar
- 1 cup salted butter, softened
- 2 large eggs
- 1 tsp almond extract
- 1 tsp vanilla extract
- 3 cups flour
- 1/2 tsp baking powder
- 1/2 tsp cinnamon
- 1/2 chipotle powder
- 1/3 cup black cocoa
- 1/3 cup dutch cocoa
Directions
- Cream butter and sugar together in a standard mixer for about 2 minutes.
- Add eggs, almond extract and vanilla; blend just till incorporated.
- In a separate bowl combine flour, baking powder, cinnamon, chipotle, and both cocoas. Gently add to the dough and mix until well blended.
- Chill dough for one hour in the refrigerator. Roll out dough 1/4"-3/8" thick. Cut desired shapes and bake at 350 for 9-11 minutes.
Let me know if you try them and if you have any suggestions!
Are you looking for my royal icing recipe? Click here!
Confection Connection - Circus Cookie Set
Have you had a chance to watch all the videos from this month's cookie set by the Confection Connection? These were so fun to create with my cookie artist friends. I'm already drumming up theme ideas for the end of July. Do you have a suggestion? Email me - I would love to hear from you!
Yesterday I presented you with my circus tent and ticket tutorial. Wouldn't these be perfect for a school carnival or circus themed birthday party? They are fun and easy! And I think that ring leader hat would be awesome for a magician too!
My friend Tiffany of Baking with Best, made such delicious carnival themed food that would be perfect for so many different cookie sets. That pretzel would be fun paired with beer for Father's Day and the snow cone is so patriotic, perfect for this weekend's Fourth of July parties.
Brooke of Brookie's Cookies created the sweetest lion that you could ever imagine trying to tame. I love the extra sparkles on his mane. And wouldn't these also be perfect for a "Wizard of Oz" themed party? I can just see him with a little Dorthy.
And last, but not least I think Zoe of Miss Doughmestic has ended my crazy fear of clowns. How sweet and colorful are these guys? I love all the rainbow colors and their happy expressions. Such a fun little cookie that would be a perfect for any birthday celebration.
If you haven't already, be sure to stop by YouTube to watch all these yummy cookies created before you!
Categories:
carnival,
circus,
cookie decorating,
decorated cookies,
fair,
sweet jenny belle,
videos,
youtube
Confection Connection - Circus Cookie Collaboration
I am so excited to tell you about the collaboration I am a part of - Confection Connection. I have teamed up with Baking With Best, Brookie's Cookies and Miss Doughmestic. We will be bringing you amazing themed cookie tutorials every month on YouTube and our blogs. This month we are headed to the circus for cotton candy, clowns, lions and circus tents!
Today I am presenting circus tickets and carnival tents, easy and fun. Stop by my Instagram later this week to see the easy big tent hat!
Circus Ticket
Materials
- rectangle cookie with corners chopped
- Americolor sky blue in flood consistency
- Americolor super red in thick flood consistency
- white in thick flood consistency
Carnival Tent
Materials
- dog house cookie cutter (I bought mine at Ann Clark)
- Americolor super red in flood consistency
- white in flood consistency
- Americolor sky blue in flood consistency
- Americolor gold in flood consistency
Want to see the cookie decorating in action? Click on over and watch the video! Let me know if you have any questions!
Need a great royal icing recipe? Click here for my favorite one!
Be sure to come back tomorrow for more circus fun from Brookie's Cookies.

Categories:
carnival,
circus,
collaboration,
confection connection,
cookie decorating,
decorated cookies,
fair
Cotton Candy Cookie and Buttercream Icing Recipe
What is your favorite summer memory? My kids love swimming, hiking and going to amusement parks. They love going on rides and eating ridiculous amounts of cotton candy. And my mom has a thing for cotton candy, too. I finally looked into what it would cost to buy a small cotton candy machine and I was surprised to learn that it wasn't expensive. I bought this really cute and small one on Amazon. It is pretty much the perfect size to create enough for the family and not be bothersome to store away.
One of my frequent requests is for a roll out cookie recipe. I will be publishing my favorite traditional recipe later this year, but it's summer time and I thought it would be fun to experiment with new flavors (ahem, cotton candy).
These delicate, sweet cookies are so fun to make and your children will be excited over the secret ingredient. I think these would be lovely to serve at a summer tea for you and your child. There is a wide variety of cotton candy floss that you could use as well; I used cherry and it gave the cookies such a sweet, light pinkness. Are you ready to try out these sweet treats?
Cotton Candy Cookie Recipe
Ingredients
- 2 cups softened butter
- 2 cups white sugar
- 2 eggs
- 1 tsp vanilla extract
- 1 tbsp cotton candy floss
- 1 tsp salt
- 6 cups flour
- 1/2 tsp baking powder
Instructions
- Cream butter and sugar together in a standard mixer for about 2 minutes.
- Add eggs, candy floss and vanilla; blend just till incorporated.
- In a separate bowl, blend flour, salt and baking powder. Gently add to the dough and mix until well blended.
- Chill dough for one hour in the refrigerator. Roll out dough 1/4"-3/8" thick. Cut desired shapes and bake at 350 for 9-11 minutes.
What is my secret to that beautiful rosette icing? It's so easy! You just need a 1M icing tip. Start in the center of the cookie and move in a circular position. That's it - it is so easy and you will want to decorate roses on everything!
Cotton Candy Buttercream
Ingredients
- 1 cup softened butter
- 1 teaspoon vanilla extract
- 1 tablespoon cotton candy floss
- 4 cups powder sugar
- 2 tablespoons milk
Instructions
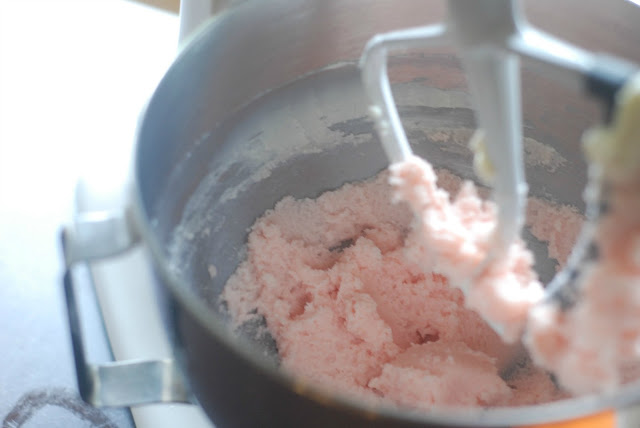
- Beat butter in a standard mixer for about 2 minutes.
- Add vanilla and cotton candy floss.
- Slowly add in powder sugar and milk. Whip frosting for about 5 minutes until it is light and fluffy.
Are you looking for more summer fun? I've teamed up with some amazing bloggers - come check their projects out!
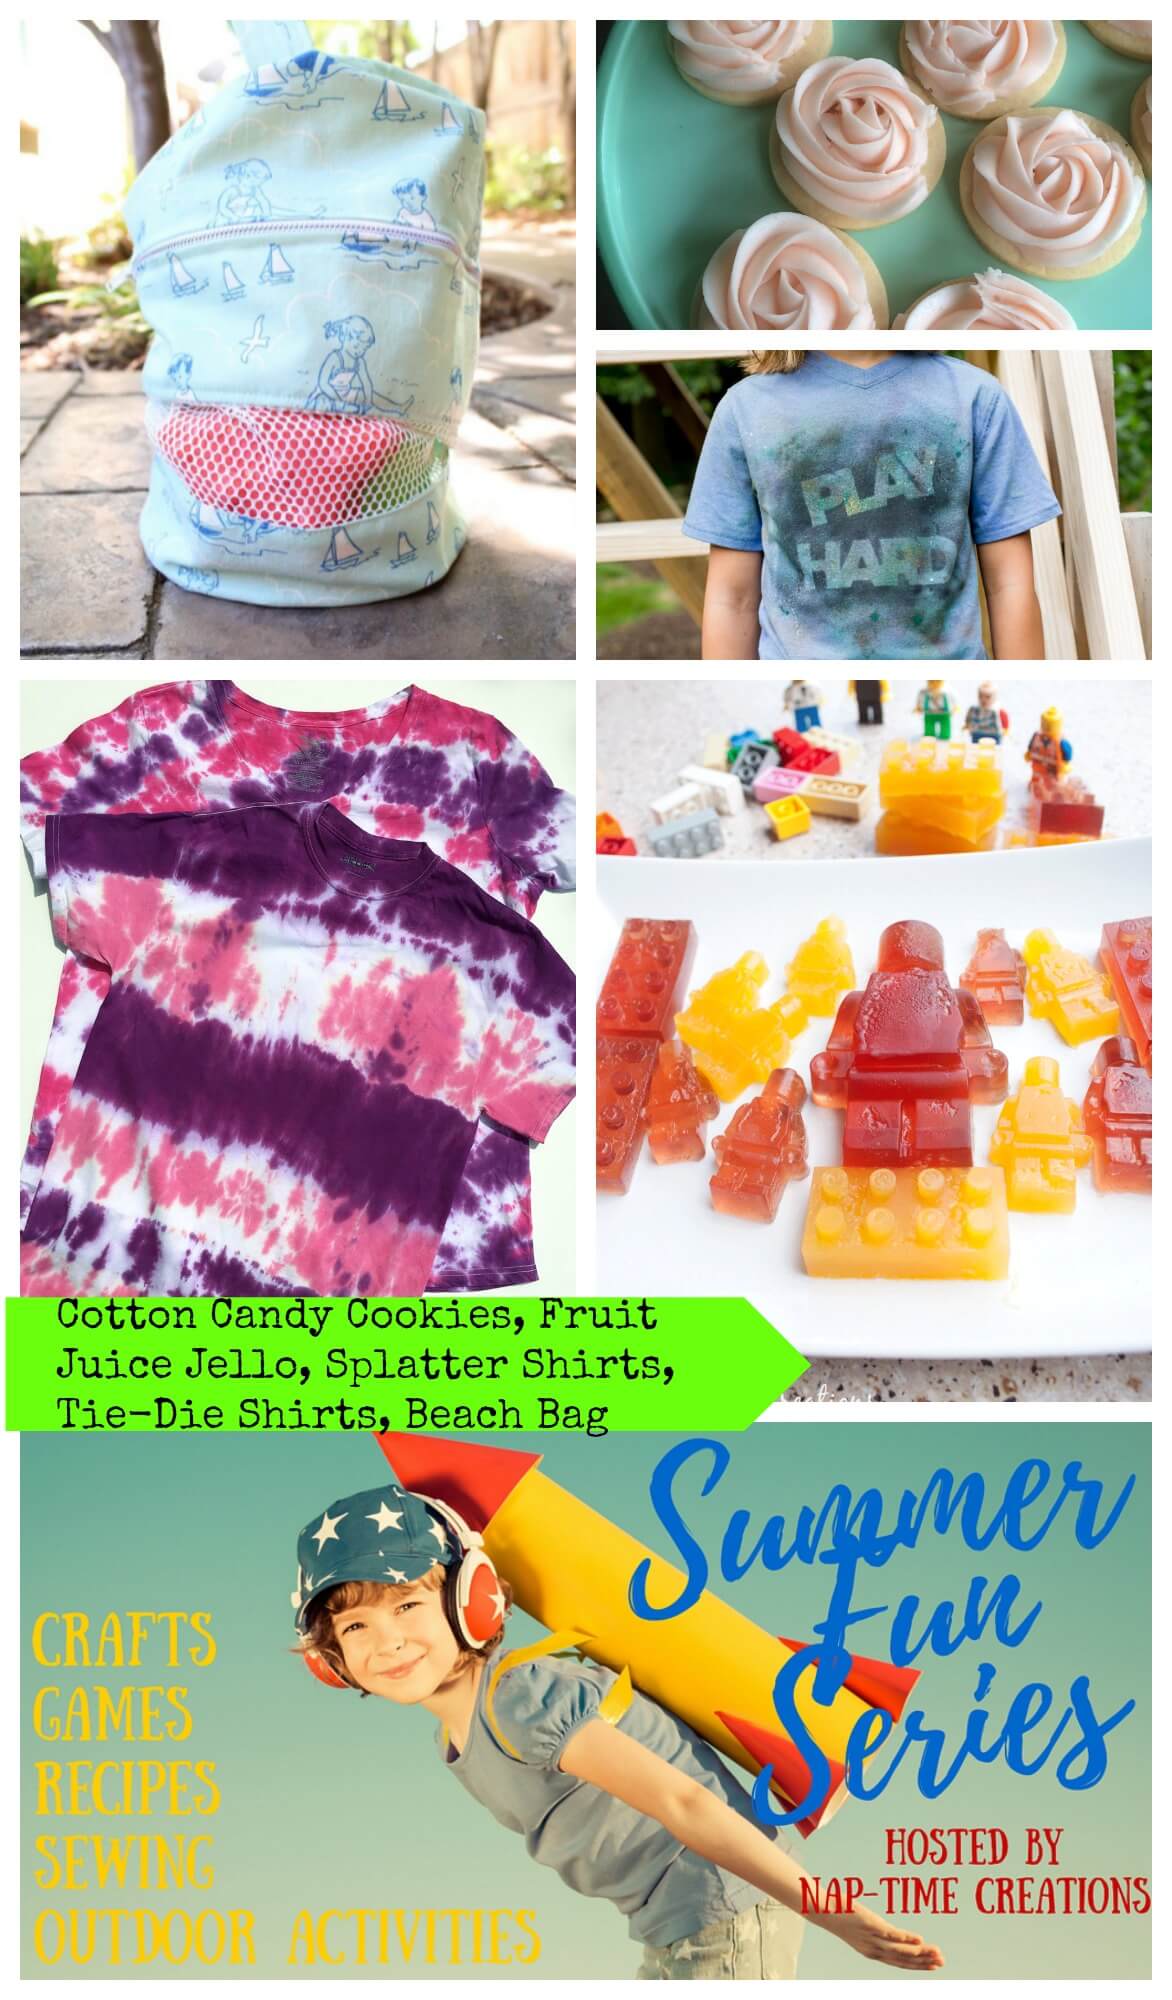
Fruit Juice Jello Lego Snacks - Nap-Time Creations
Zipper Beach Bags - Sew What Alicia
Splatter Shirts - Andrea's Notebook on Nap-Time Creations
Cotton Candy Cookies - Sweet Jenny Belle Bakery
Tie-Dye Shirts - Craft Critique
Easy Desert Bloom Potholder
Last month I had the awesome opportunity to collaborate with Amanda Herring as she released her new fabric line, Desert Bloom. Amanda was presenting the line at a retreat and needed some beautiful cookies to give the attendees as gifts.
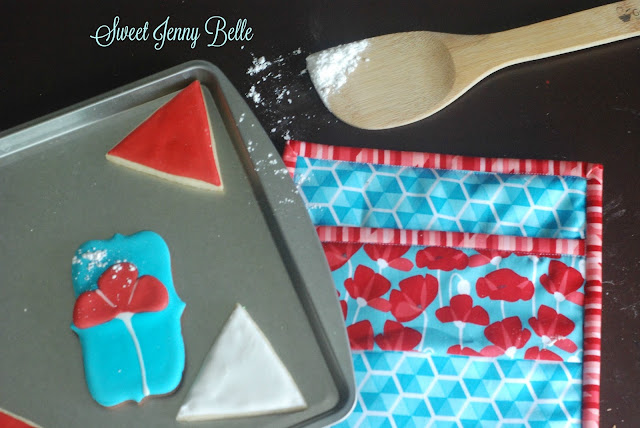
Aren't these beautiful? I loved creating cookies with her fabric design - I heard they were a hit! I couldn't wait for the chance to sew with her new fabric line. I thought it would be fun to create some potholders since everyday I have hot pans in my hand. Do you want to make them? They are easy!
Materials
- Batting: (2) 8" squares and (1) 6"x 8"
- Desert Hexies Blue: (2) 8' squares, (1) 6"x 8" and (1) 3.25"x 8"
- Desert Poppy Blue: (1) 3.25"x 8"
- Desert Stripe Red (1) 2.5"x 40" and (1) 2.5"x 8.5"
Directions
- Pin the desert hexies blue 3.25"x 8" to the desert poppy blue, 8" sides right sides together. Sew with a 1/4" seam allowance and press.
- Lay the desert hexies blue 6" right side down, layer with the 6"x 8" batting and then the pieced pocket top right side up. Baste all sides with 1/8" seam allowance. Quilt if desired.
- Fold and press the desert stripe red 2.5"x 8.5" to create a binding. Pin the raw edges of the binding to the raw edges of the pocket top. Sew the fabric pieces together with a 1/4" seam allowance and press to the back, stitch in the ditch to secure the binding to the back.
- Lay one 8" desert hexie blue right side down, layer the two remaining batting pieces and the last 8" desert hexie blue on top, right side up. Place the pocket right side up, bottoms lining up. Pin and baste with 1/8" seam allowance.
- Fold and press the desert stripe red 2.5"x 40" to create a binding for the potholder. Pin the binding, raw edges together to the perimeter and stitch with a 1/4" seam allowance. Press the binding to the back and stitch in the ditch.
And that's it! Isn't it super cute? I think this potholder, a dozen cookies and a beautiful wooden spoon would make the most perfect hostess gift! I hope you try this easy sewing tutorial and of course some coordinating cookies.
XO,
Jenny
Subscribe to:
Posts (Atom)


