Death Star Cupcakes - A Fondant Tutorial
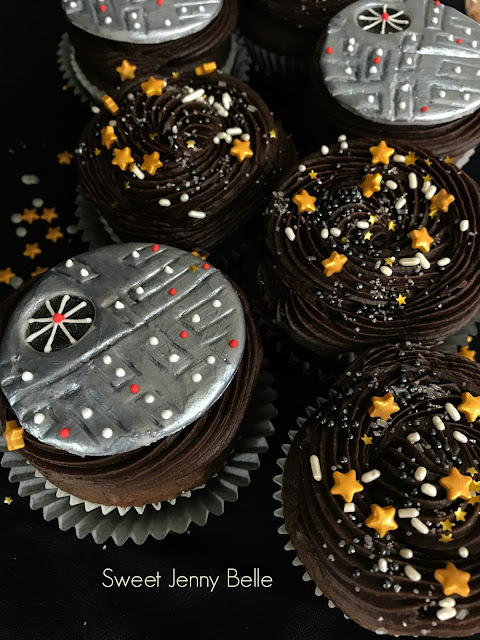
As soon as I see that little silver ball, I can immediately recall Darth Vadar's theme music. That's no moon, that's the Death Star. I've been contemplating what my special dessert would be on May The 4th Be With You. Decorated cookies have been the treats for the last three consecutive years, I wanted to do something a bit different. I was inspired by my best friend, Karen's Death Star Cupcakes, but of course want to put my own spin on it. I have a little experience with fondant and need to improve my skills. Cupcakes seemed a lot less intimidating than a whole cake! If you are new to fondant as well, I think you will find that this an ideal project.
Materials Needed
- grey fondant
- black fondant
- 2 1/2" circle cutter
- small icing tip (it doesn't matter which size, you will be using the base to cut)
- fondant tools
- edible silver food paint
- white royal icing
- red royal icing
When you begin, you will need to condition your fondant. While wearing gloves (fondant will pick up every bit of dust or color on your hands!) roll the fondant until it is soft and pliable. If you find your fondant is too soft, knead in a small bit of powder sugar. You can also add tylose to stiffen it, but be aware that it will become permanently more brittle and not the tastiest.
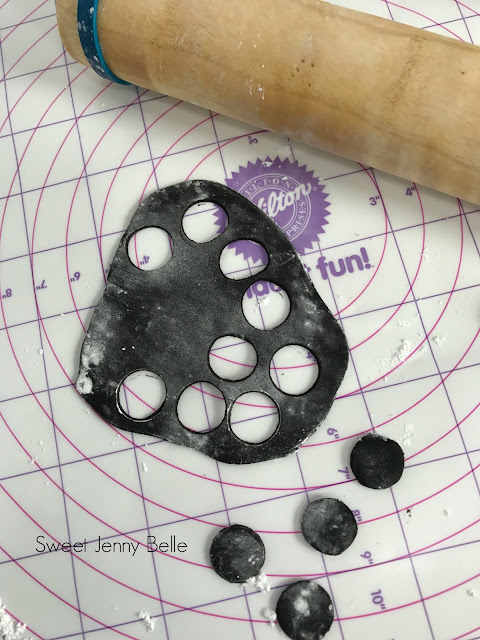
Roll out your black fondant to 1/8" thick. I use fondant roller rings on my small pin to make sure that it is consistent. If your fondant, mat or pin get sticky, sprinkle more powder sugar. Take a small icing tip - any size is ok, and cut out small circles using the base of the tip. Set these pieces aside on a pan to stiffen.
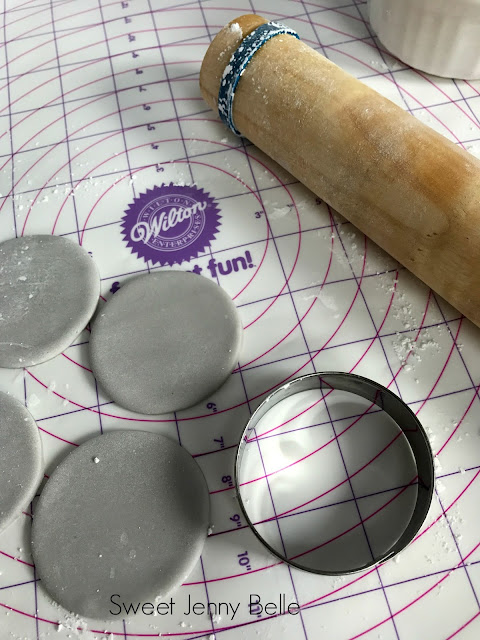
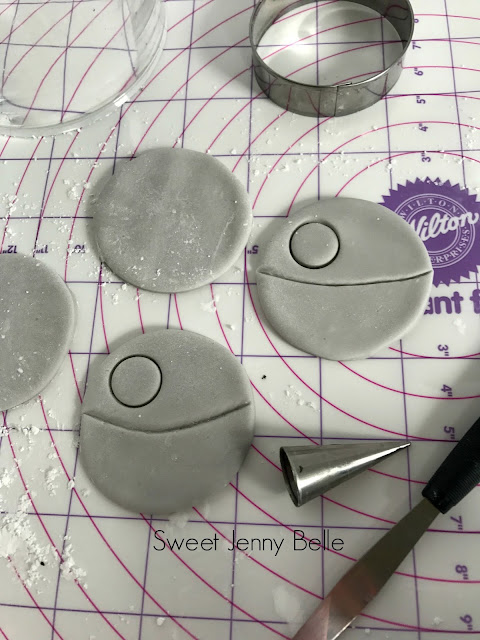
Now roll out your grey fondant to 1/4" thick - these are thicker because they are the base piece and will be resting on the cupcake. Cut out large circles with the 2 1/2" cookie cutter, these will be the Death Star.
I start the design of my Death Star by first creating the focal center line. It is a curved line since it is supposed to resemble a sphere. You can create the line lightly with a fondant tool until it's perfect. Then go back and make the line very obvious, but do not cut the fondant into two pieces. Next with the same icing tip, cut out a small circle on the left side of the top part of the Death Star.
Carefully lay your black circle into new hole on the Death Star. Use your large ball tip fondant tool to smooth it in. (See video below for visual explanation)
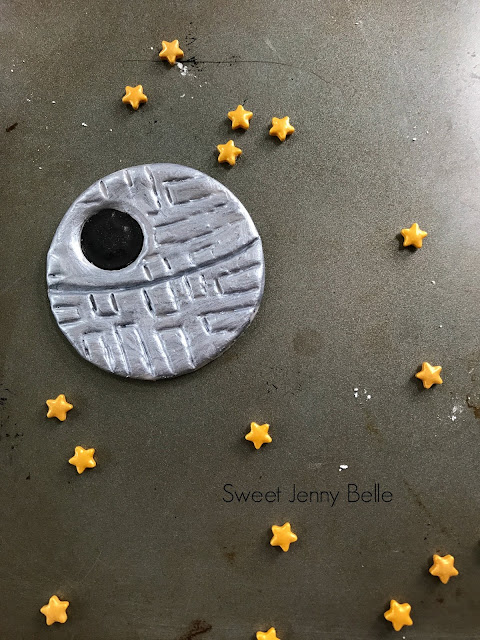
Create lines of the death star with one of your preferred fondant tools. They are open rectangles of various shapes and orientation. You want the lines to be prominent, but not cut into the fondant all the way. You could also use a toothpick to create these lines.
Now that Death Star needs to become shiny - so shiny! You can leave it grey if you like, but I wanted some metallic shine on those babies. There are a number of silver edible paints on the market, Wilton also has an edible silver spray located on the baking aisle of most craft stores. If you do use the spray paint, spray first and then add the black dot or it will all be silver.
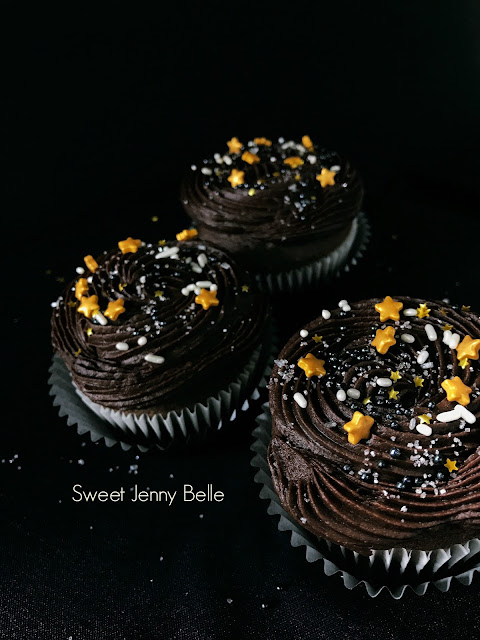
Isn't it fun?! You could leave it just like this. It would be a perfect edible decoration for your dark chocolate cupcakes. However, if you enjoy working with royal icing or want to try a bit, I add a few more details in red and white. I have a large royal icing recipe here, but I have also used this small batch recipe and it would be perfect for this project.
Using the white icing in a no tip frosting bag or even a Ziploc, add a few lines on the black hole of the Death Star and a few white dots to resemble lights.
Add just a few more dots of red in the center of the black hole and surrounding areas.
Boom!
Your menacing Death Star is ready to be gobbled down by your Rebel Scum while you watch the movies at home. It isn't hard or intimidating - it may even peak your fondant interest as it did mine!
Want to see me create the topper in a video? There is fast paced one above - just click the picture. If you have any questions, be sure to email me!
You can create these toppers days in advance. Store them in a cool, dry and dark spot - placed on a cookie sheet in the cold oven is perfect. Sunlight will alter the colors of your fondant quicker than you will imagine. Place toppers on cupcakes right before serving. The yummy oddles of buttercream underneath will soften the fondant and if put on too soon, they will become limp.
Don't forget to Pin this post - you know you are going to want to create these for your next Star Wars party! So much delicious fun..
XO,
Jenny
1 Comment
Churros with Lime Buttercream
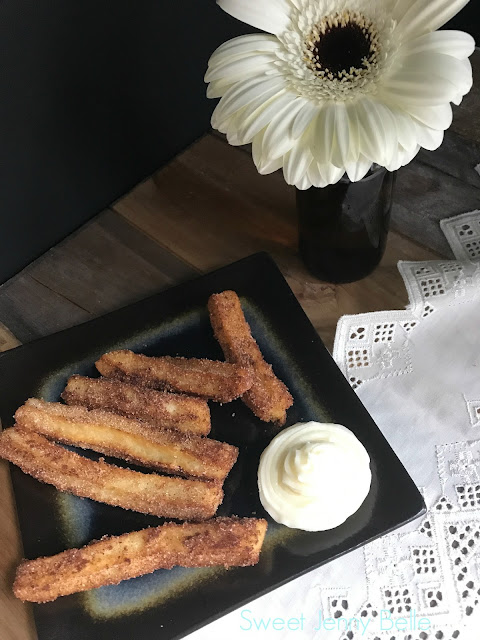
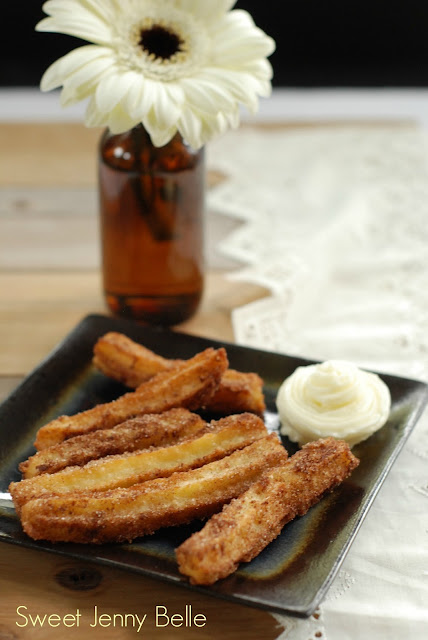
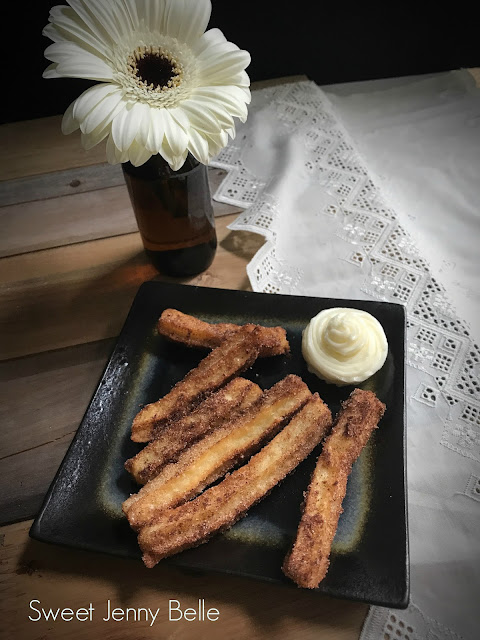
Cinco de Mayo is just a week away and all I can think about is Mexican food. One of my favorite latin treats are churros. Although we associate these delicious treats with Mexico, its history is unclear. It is suspected that it actually originated from Portugal. Hands down, my favorite churro is from the happiest place on Earth, Disneyland. I don't know what the current price is, but I can tell you that it's worth it. We probably eat our weight in them during our visits.
The Dough
Churro dough is not particularly difficult to make, but it does require your concentration as it is unlike cookie and cake batters. The batter is created in a pot on the stove and will need to cool down before you beat in the eggs. The eggs are added one at a time and beat them quick. Hot dough plus raw egg can equal an interesting omelette - yuk! Whip them in quick and move on to the next one.
Creating the Churro
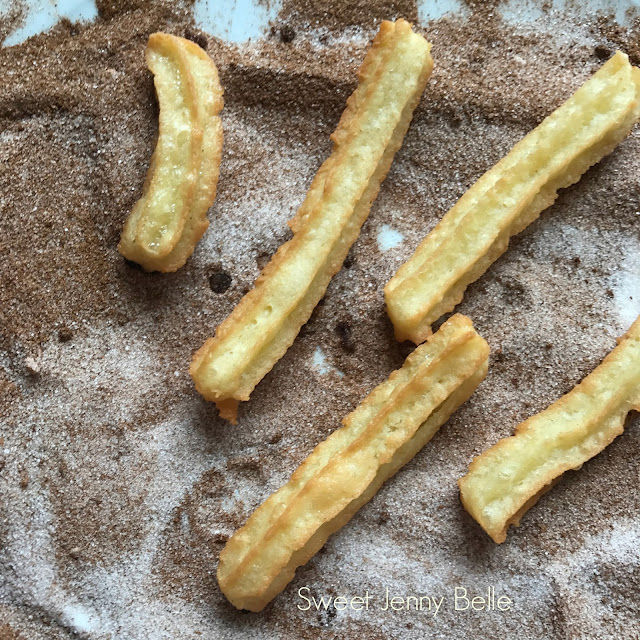
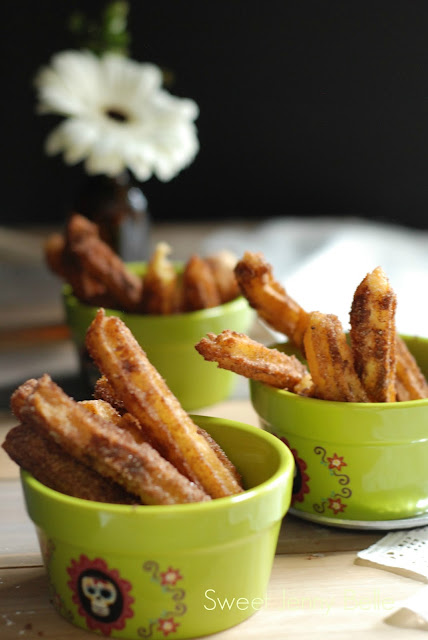
This was my first attempt at churros, but certainly not my last. These are so yummy! After I created the dough, I placed the batter in a pastry bag fitted with the 1M tip. They are skinnier than the average churro you are used to seeing at the stands, but it was perfect for a treat at home. When I squeezed the batter into the hot oil, I had a pair of kitchen shears on hand to cut the dough at my preferred length. You will fall into a rhythm with this process.
A few friends told me there is an easier way to create them, a churro press! I checked one out and it's in my shopping basket now. There is a nice hard case for all your dough and multiple nozzle heads, including a hollow one for filled churros. Imagine my lime buttercream inside or maybe a spicy chocolate ganache. Mouth watering!
Traditional Fried Churros
By Jenny RodriguezThese traditional fried churros are the perfect combination of crunchy, sweet with a soft dough center. Serve this with a side of hot chocolate sauce or lime buttercream.
Prep time:
Cook time: 20
Total time:
Yield: 1 dozen churros
Ingredients:
2 tbsp. white sugar
1/2 cup unsalted butter
1 cup water
1/4 tsp. salt
1 cup flour
2 large eggs
cinnamon sugar
vegetable oil (for frying)
Instructions:
Churros are best enjoyed the day that you make them - they can become soggy if left overnight. They are delicious on their own or pair it with a large dollop of lime buttercream.
Don't forget to Pin this recipe to make next week for your fiesta!
XO,
Jenny
Yum
Welcome Baby Zoe
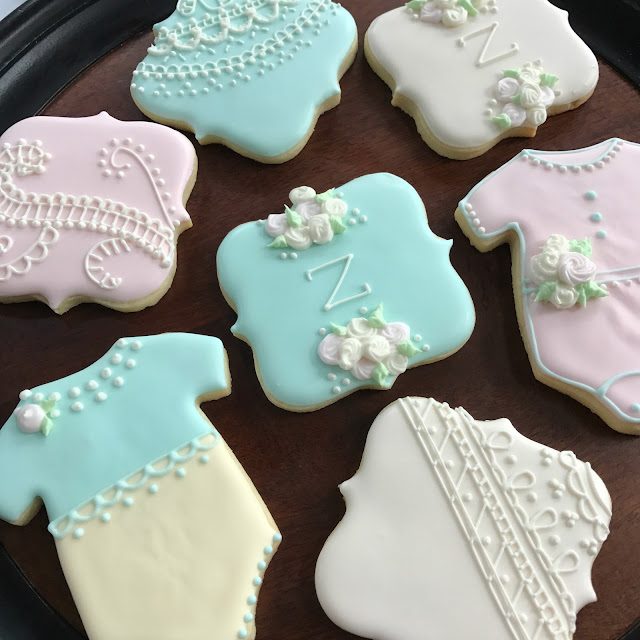
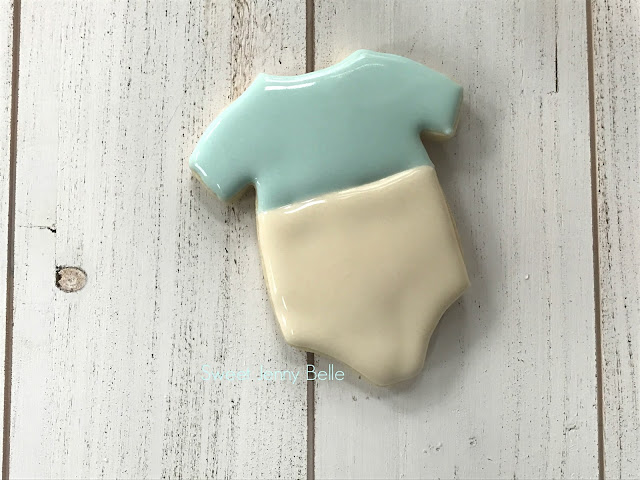
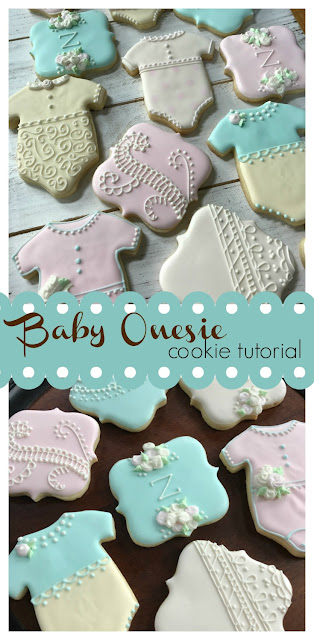
Last week my cousin gave birth to her first baby, sweet little Zoe. Is there nothing sweeter than those baby cheeks, chubby hands and cupid lips? Babies are absolutely one of the best reasons to create decorated cookies - sweet inspiration and those sleep deprived parents can certainly use a sugar boost to keep them going. Although pastels are not my go-to palette, I do love it and it's perfect to welcome a newborn.
Pastel Icing
I work with both Americolor and Wilton gels to color my icing. The key for me to getting a very soft hue is to use the tiniest amount of color. Colors deepen as they dry and it's much easier to go darker than you anticipated. I will use a toothpick to pick up the gel, rather than squirting it into the icing bowl as I normally would. My friend Georganne of Lilaloa has a great post about her technique for pastels. I use her method for creating my grey icing all the time - another color that is easy to make too dark too soon. The key in either method is to go light and slow with the gel.
These cookies are quite easy and will make the new mother feel special and loved. Perfecting these baby onesie treats requires understanding the different levels of icing fluidity. Sweet Sugarbelle has a very informative post on different royal icing consistencies. If you ever have questions, please drop me an email and I would love to help.
What You Need
- baby onesie cookie cutter
- 15 second royal icing in: blue, yellow, green
- Piping royal icing in: white
- Stiff royal icing in: pink
- Icing tips: #14 and #2
1. I use the same 15 second icing to outline and flood the base of my cookie. You can start with either the blue or yellow. You do not want to dry between icing the colors; if you dry, you will have a hard line between the two and you want them to melt into each other. (See video below for visual clarification)
2. Once the base is flooded, dry for 10 minutes in your dehydrator at 90 degrees or for 2 hours at room temperature. The top of the cookies will have a soft shell, you can begin your detail work, but keep in mind that the cookie is not completely dry - so handle gently.
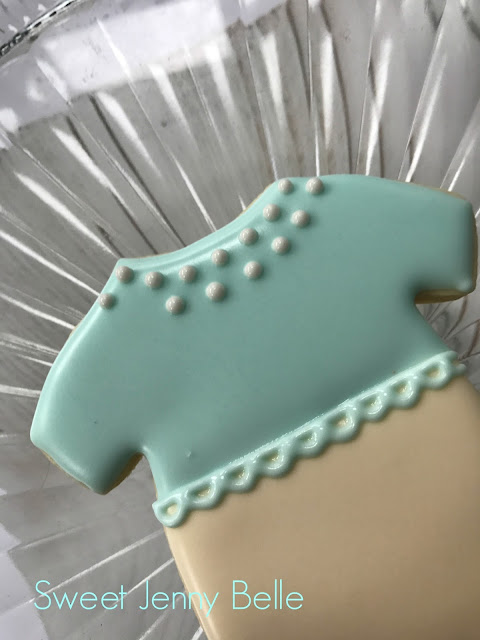
With the same blue flood icing, add dots to the leg openings. Then ice a line where the blue and yellow base meet. Add a sweet little scallop trim to the line.
3. Using your piping thick white icing, decorate the collar with a mock pearl necklace. Leave one dot off on the second strand - this is where you will be adding your rose.
4. Fill an icing bag with tip #14 and the stiff pink icing. Starting in the center of the rose, ice a small circle. (See video below for visual clarification). You could also make these roses in advance on a piece of parchment and "glue" on to the onesie with a dab of fresh icing.
Fill a different icing bag with tip #2 and the green icing. Frost two small leaves coming out from the rose. These are really just small triangles - easy peasy!
And that's all there is to it. Isn't that the sweetest little baby cookie? So many fun possibilities to decorate these little onesies. Change the colors, the trim and it's a whole new look. I guarantee you that new parents will welcome these treats with open arms.
Are you a visual learner? Me too! I made a little video on how I created this cookie. Just click the video above and I will run you through it. Have questions, email me and let's chat! These are way easy and you will be surprised by how many compliments you receive over them.
Don't forget to Pin this tutorial! Are you looking for a royal icing recipe? Look no more, I have a full tutorial over on this post. Baby, Baby, Baby!
XO,
Jenny
The Force Awakens
Squee! May the 4th Be with You is just around the corner - it's one of my favorite silly holidays. We are huge Star Wars fans and my family looks forward to special cookies or treats. I try to come up with a new idea to surprise them. We watch all the movies, yes we buy them on Blu-Ray as soon as they come out! All my kids have their favorite of the series, even my toddler is a huge Jedi fan.
Last year my best friend held a baby shower for her sister-in-law that was Jedi themed. I created a collection of Star Wars decorated cookies. Don't you just love the baby Chewbacca? Come read the tutorial on my post here. Chewie has always been my favorite - and you know what they say, let the Wookie win!
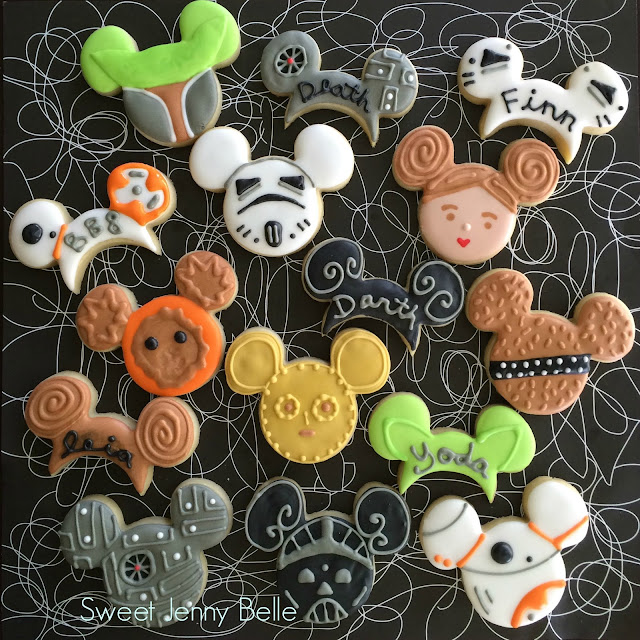
These were the cookies I created for my family last year - aren't they fun? Two of my favorite things - Disney and Star Wars! The heads and hats were both created with a Mickey Mouse cutter - you can pick one up here. I think this would be perfect for a Star Wars themed party favor too. You can read more about these cookies and see my Princess Leia Cake Pop on my original post here.
These maybe my most favorite, that's no star, that's the Death Star! With a circle cutter and some icing, you will amaze the crowd with this treat. I have a fun YouTube video and I think you will enjoy trying this one. Stop by and come over to the dark side.
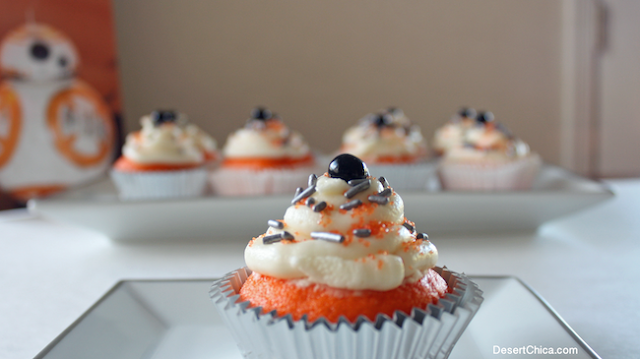
That friend I mentioned earlier, well she is quite the blogger and baker herself. And it's no surprise, she's equally crazy about Disney and Star Wars. Karen specializes in cupcakes that are quick for the home baker, so you can spend more time enjoying them and watching The Force Awakens. Aren't these BB-8 cupcakes darling? I love them so much and I know my kiddos would go crazy to frost their own. Want to make a batch? Stop by Karen's and read up on the details.
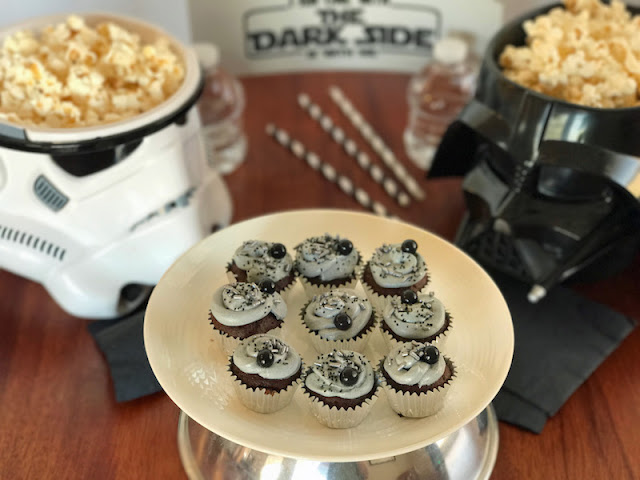
Check out these dark treats - Death Star cupcakes! It's no trap, such a yummy cupcake that would be perfect for this May 4th. What side are you on? I'm proud to be Rebel Scum, but I would be happy to make these for my crew.
Before I started this baking blog, I had a crafting one - All Things Belle. This rebel Princess Leia cap is crocheted and so easy to make. The buns are simply braided and sewn on, but isn't it adorable? I want to make one for myself and can't believe I haven't yet. I am revamping the blog, be sure to stop by for more crafts and quilting in the future!
I hope you are full of fun ideas and baking plans for this May 4th. As for me, I have a new cookie and cupcake design up my sleeve...
Don't forget to Pin this page and may the force be with you.
XO,
Jenny
Categories:
baking,
cake,
cupcakes,
decorated cookie,
geek crafts,
recipes,
round up,
star wars,
tutorials
Lime Margarita Cake Roll
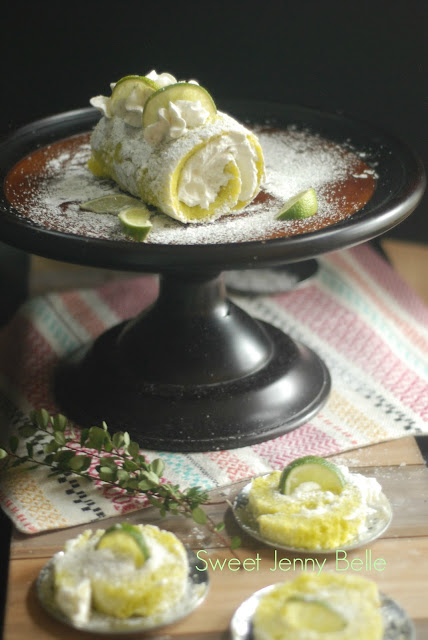
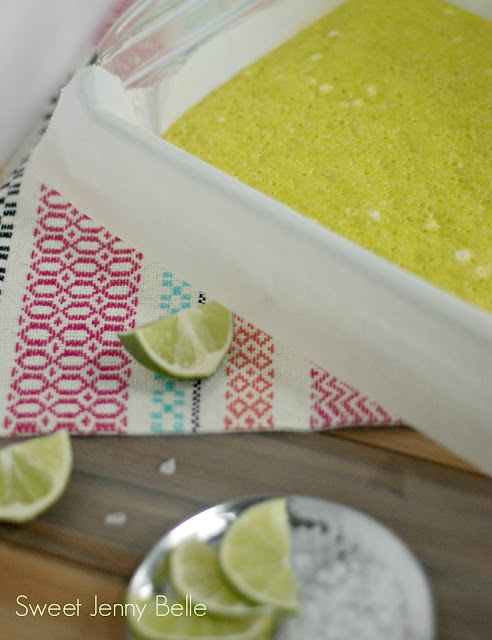
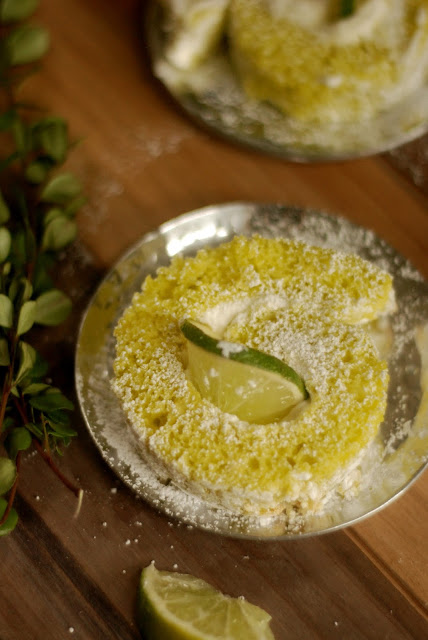
My husband and I lived in Arizona for a long time before we had a family. Cinco de Mayo is a big event - there are parties across the state. I loved all the bright decorations, festive music and the food. Oh my gosh, the food. I miss the incredible Mexican food from Arizona. The tacos, the guacamole, and fresh salsa - oh my!We are looking forward to having a small celebration here in our home this year. I've been contemplating what dessert would I showcase. I've been seeing all those gorgeous roll cakes on Pinterest and Instagram, thought it would be so much fun to try one out. And what better flavors to add to the cake, but a bright lime margarita.
Tequila
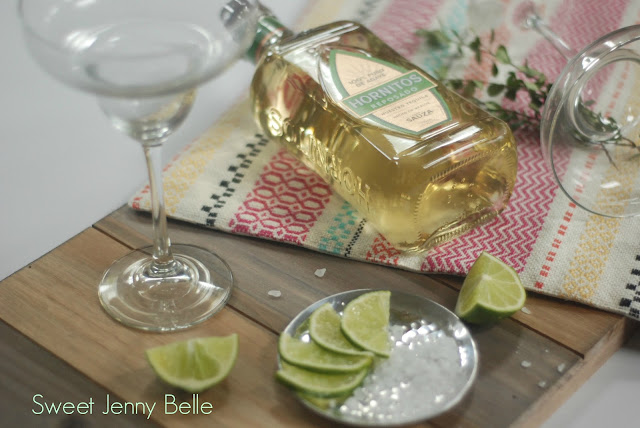
The tequila in this recipe is baked and the cake is not alcoholic, it is safe for children to eat and enjoy with you. The buttercream contains no alcohol, but if you are having a party just for adults, Sally has an amazing tasty boozy buttercream here. So why add the tequila to the cake, it is only 2 tablespoons. The tequila has a very unique flavor and it pairs incredibly well with the limes and sweet buttercream. You will find the palette of this cake is complex and delicious - I promise you that it will receive rave reviews!
Cake Roll
The cake roll is a pretty easy recipe, but you must be watchful to not overmix it. Combine the dough as minimally as possible. It is also important to not overbake your cake, check on it at after 10 minutes. You want it to spring back from your touch, but not crispy on the edges.
Happy Cinco de Mayo! May your fiesta be long, loud and delicious. And save some cake for me.
XO,
Jenny
Margarita Lime Roll
By Jenny RodriguezA bright and sweet cake roll perfect for your fiesta or Cinco de Mayo party. This is best served the day you create it.
Prep time: 30 min.
Cook time:
Total time: 45
Yield: 10 servings
Ingredients:
3 large eggs
3/4 cup granulated white sugar
2 tbsp. tequila
juice and zest of 1 lime
1/2 tsp. vanilla extract
Americolor gel - Electric Green
3/4 cup all-purpose flour
1 tsp baking powder
1/2 tsp salt
optional - powder sugar, thin lime slices and bakery bling in silver for decorating
Lime Buttercream
1 cup unsalted butter, softened
2 3/4 cup powder sugar
2 tbsp lime juice
1 tsp lime zest
Instructions:
Are you feeling like churros instead? Stop by my best friend's page, Desert Chica, to read on how to create these delicious cupcakes!
Categories:
buttercream,
cake,
cake roll,
cinco de mayo,
dessert,
fiesta,
lime,
margarita,
recipe,
roll cake
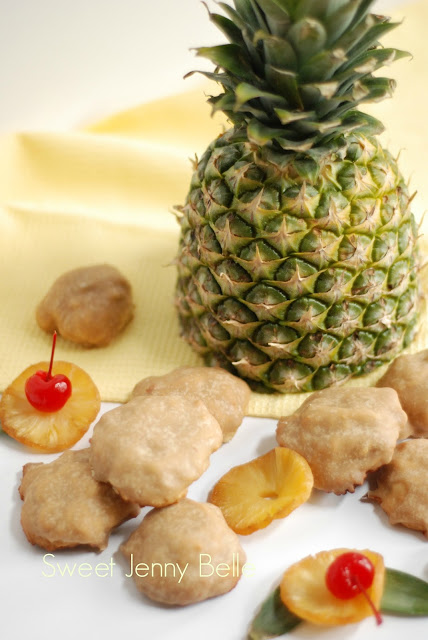
Glazed Pineapple Upside Down Scones
April 20th is National Pineapple Upside Down Cake day! And I know you know how much I love these crazy and random days. Unfortunately as I've mentioned in the past, cake is not my favorite dessert. I know. It's weird. So I really didn't want to create a cake recipe and there are a billion amazing ones out there. I thought about cookies, but it's hard to find a pineapple emulsion and if you just use juice, the flavor isn't as strong. What to do.
I decided it would be fun to move past just desserts and poke around in the sweet breakfast treats. I imagined a small scone - some are just entirely too big to eat first thing in the morning. I pictured one full of the traditional flavors - juicy pineapple, sweet cherries and the complex brown sugar. I wanted a topping to the crust for added dimension.
These scones are easy and quick! You could easily create these first thing Sunday morning for your big family breakfast. They would also be perfect for a lady's brunch with mimosas. It has a tropical flavor spectrum, but no coconut (I see you anti-coconut bakers!) However, if you wanted to add some chopped, toasted flakes - it would be delicious!
Butter
Unlike cookie baking, you want your butter as cold as possible and it will not be creamed in the mixer. You will need to cut your butter into the dough with either a pastry blenderor two knives. After you cut your butter in, I recommend placing the dough in the fridge for about 30 minutes. It's not required, but if you have the time, you will be happy that you did. Warm butter will not do much for your delicious scones.
Quantity Made
These make somewhere between 18 -24 scones depending upon how big you like your scones. As I mentioned earlier, I wanted something on the smaller scale and more manageable with a full breakfast. But if you like big scones and can not lie, then by all means make them large.
Brown Sugar Glaze
This glaze is ahhmazing! You will love it. You will want to dunk everything in it. I'm wondering now what it would taste like on bacon. Mmm. It's pretty easy to make, but it hardens quite fast. Plan on dunking or drizzling a few scones at a time, then bring it back to the stove to warm over the burner. Whisk, whisk, whisk, to keep the glaze fluid.
Variation
If you love maraschino cherries like my middle child does, you can chop some up to sprinkle on the glaze before it sets. However, the juiciness of the cherries does slightly deteriorate the glaze underneath. There will be a slight marbling of color, but they are amazing! My kiddos always choose the cherry topped ones first.
Glazed Pineapple Upside Down Scones
By Jenny Rodriguez
Sweet and tropical scones that will be the hit at your breakfast table. These are best made and served on the same day.
Prep time:
Cook time:
Total time:
Yield: 1-2 dozen (depending upon how big you like your scones)
Ingredients:
2 cups - flour
1/4 cup - brown sugar
1/4 cup - white sugar
1 tsp salt
2 tsp baking powder
1/2 cup unsalted butter, cold
1/2 cup heavy cream
1 large egg
1/2 tbsp vanilla extract
1 tbsp maraschino cherry juice
2/3 cup chopped pineapple, drained
3 tbsp chopped maraschino cherries
Glaze
1/2 cup brown sugar
3 tbsp water
2 tbsp butter
1 tsp vanilla
1 cup powder sugar
Instructions:
Yum
Subscribe to:
Posts (Atom)


