Shark Week Cookies
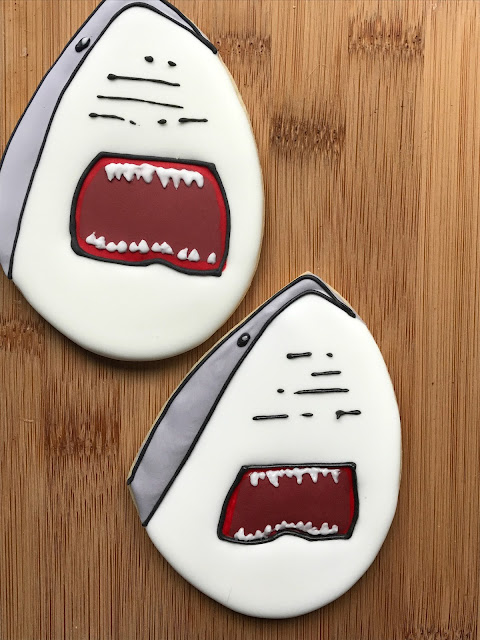
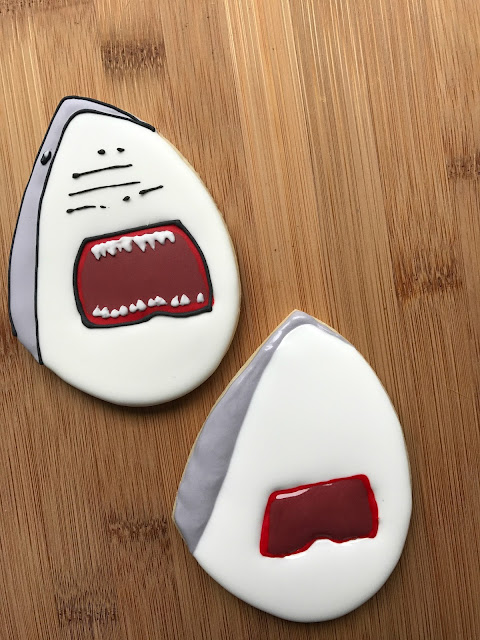
Squee - Shark Week is just around the corner! Are you ready? This is my first year of embracing the cult phenomenon, but I'm excited. Being the librarian that I was, I'm going to use Shark Week as a time to teach my kids about why sharks are cool and shouldn't be vilified, but I'm also going to teach you a totally creepy shark cookie!
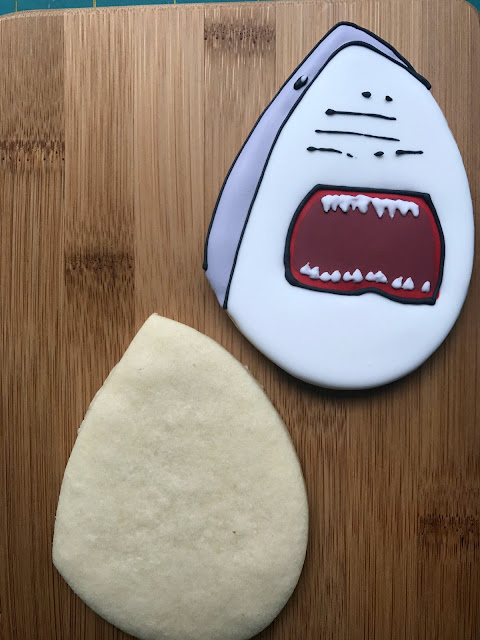
No special cutter is required - I simply grabbed my largest oval and hacked off a bit off the top. You want to give him a pointed nose, but don't stress over the exactness. I was also thinking this shark cookie would be perfect on a cupcake! Can't you just picture his sweet face on a mountain of cool blue buttercream? Yum!
Materials Needed:
- oval cutter - just slice the tops into a pointy shape
- royal icing flood consistency - black, red, maroon,white and grey
- royal icing piping consistency - white
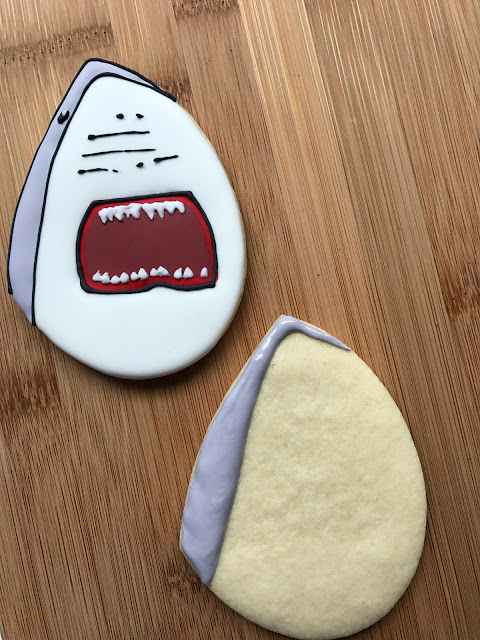
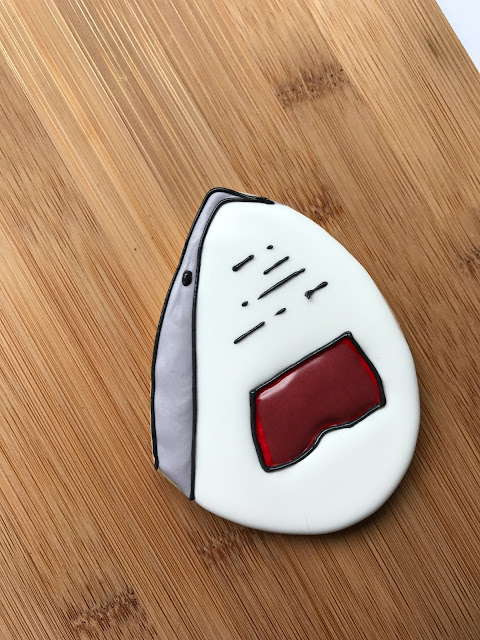
The first step is to flood the edge of the shark in grey. I created mine to look as if you can only see most of one side, but you can make him symmetrical if you prefer. I just wanted to make that side-eye creepy look!
My grey icing was created by using just a touch of Americolor black gel. Go slow when you are adding your colors - much easier to go too dark too quick. There is a great post on Lilaloa on how to create awesome pastel colors.
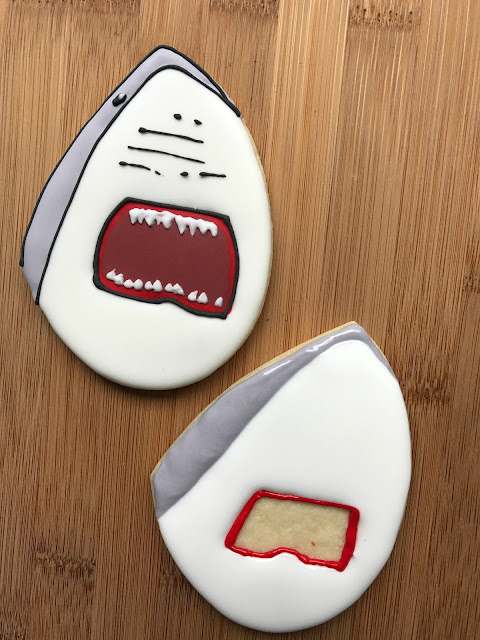
While the grey icing is still wet, carefully fill in the rest of the shark with flood white and leave an opening for his mouth. His mouth almost looks like a pair of boxer shorts, lol! Just keep it blank for now, we're coming right back to it.
Using a small cut in a tipless bag or using about a 2 tip, outline the mouth in bright red while the white icing is still wet. Take this slow and easy, as not to get too far into the white.
Now fill in the remainder of the mouth with a flood level consistency of maroon. Ideally, you want all of this background to melt into each other in the wet-on-wet style. If that's stressful or you have problems with colors bleeding, feel free to dry in a dehydrator between each color layer.
Now come back with a finely cut black icing bag and outline the grey areas of the shark, add an eye, outline the mouth and a few noncontinuous lines on his head. You will be surprised at how much this can help pop the colors and it can cover some minors mistakes if they were made.
And the final touch? Some sharp, irregular shark teeth! I used a piping thick white icing and added two lines of triangles. You can use a toothpick or icing scribe to elongate some of the teeth to sharp, long points.
Are you so excited for Shark Week? Do you have any favorite treats or traditions? This is our first year embracing it and I can't wait! These cookies are so fun and I hope you try them.
XO,
Jenny





These cookies look so delicious. This does not even require any utensils. I cannot wait to try it out. Thank you for sharing such a lip smacking recipe. Keep posting.
ReplyDeleteThese cookies look so delicious. This does not even require any utensils. I cannot wait to try it out. Thank you for sharing such a lip smacking recipe. Keep posting.hungry shark evolution hack for pc
ReplyDeletevery good and nice post aboutalljobs
ReplyDelete