Camping at Night - Decorated Cookies
For the cookies today, I'm focusing on all the fun that happens at night when you're camping. I love the idea of comfy sleeping bags in the grass and the sweet glow of the lantern at night. Though when we're actually camping, I'm not sure that I have fond feelings about my sleeping bag. lol! What is your favorite part of camping?
The key part to a successful sleeping bag cookie appearance is waiting. You need to wait to add adjoining segments of the bag until the last one has slightly crusted over, otherwise they will run together and it will just look like a long tube.
The soft green grass needs to be done with stiff royal icing. You can see with my yellow sleeping bag cookies that the icing was a bit too soft and didn't want to keep the shape. I used Wilton top 233 for the grass. If you need a good royal icing recipe, click here for my favorite recipe.
On Instagram, the lantern is receiving all the love. Maybe there is something in the nostalgia of a camping lantern?
What cookie cutter did I use? I just happened to buy a bubble jar cookie cutter from Bobbi's for a different set of summer cookies and when I opened it, all I saw was a lantern! I think it's perfect. You can either flood the base in a neutral color ( I did white) or you can leave it naked.
Again, the key to this cookie will be waiting to ice the different parts of the lantern until the adjoining parts have dried. I did use a wet-on-wet with the grey filament in the golden lamp.
I hope you are enjoying this camping series! I loved making it - come back tomorrow for more outdoor fun! And please let me know if you have questions.
2 Comments
Let's Go Camping
Hello my cookie loving friends! I'm so excited to tell you that I'm changing my format a bit. Each week I will specialize on one theme and bring you a ton of tutorials, videos and pictures. If you have any requests, please let me know it the comments!
This week my focus will be on camping because I love the great outdoors! Do you camp or glamp? Where are you favorites places to go? My husband and I love to take our three kiddos out camping in our camper trailer every chance we get during the summer months. We go hiking, fishing and of course eat way too many s'mores!
How many of you would buy anything that had a cute little picture of a trailer? I love them! When we go camp over the 4th of July, we bring decorations to spruce it up a bit. And well, who could imagine that great outdoors without oodles of pine trees? Their sweet smell and beautiful presence - a favorite image in my mind.
A pine tree cookie is really easy to decorate too! I have a quick video here to show you how I make mine. It's basically just a fancy scribble.
Pine Tree Cookie Tutorial
Materials
- Tree cookie
- Royal icing in forest green and chocolate brown
Instructions
- Using a thick piping consistency of chocolate brown royal icing, frost the tree trunk. Ice a single line for the trunk and several little lines for branches - a majority will be covered up.
- Create the pines of the tree using a thick piping consistency of forest green icing. I scribbled up and down the tree leaving some of the trunk and branches showing.
- So easy, right?? And you could use this for the winter holidays and add snow or ornaments.
Want to see the camper trailer in action? Here is a quick video!
Come back tomorrow for more camping fun!
Cherry Decorated Cookies and Pie Tutorial
I am so excited that summer is around the corner! I can't wait to spend hot mornings at the pool with my kids and playing in our backyard at night. We recently signed up for a community share program with our local family farm. They have the most delicious fruits and vegetables. My favorite summer fruit are sun warmed cherries. I make cherry pie, cherry popsicles and of course cherry decorated cookies! I posted these on my Instagram page the other day and they were quite the hit. I thought it would be fun to share a cookie tutorial with you on how to make them. They are easy and quick - and irresistible when packaged in a cute berry basket!
Materials Needed
- your favorite roll out cookie dough recipe
- a cherry cookie cutter (I bought mine at Michael's, a local craft store)
- flood icing in: red, white and green
Directions
These are so easy! I try to have everything prepped and ready before I start decorating to make it more fun and less stress. I now use these tipless bags for almost all my cookie decorating. You don't need tips - just snip a bit off the top, with the seam side up facing you. And no clean up - hooray!
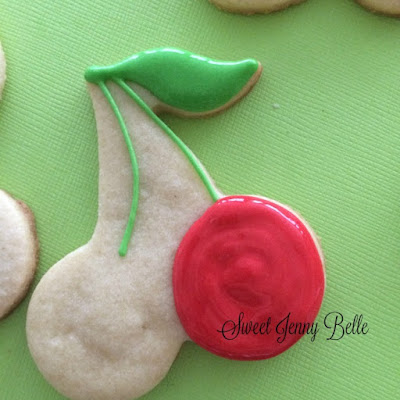
- First you are going to outline and flood your leaf; you can use a toothpick to help spread it out. Then carefully pipe the two cherry stems. You could get fancy with your leaf if you want, but honestly I find that the more simple my design, the more popular it is!
- Then pipe a large circle for one of the cherries - isn't it looking juicy already?
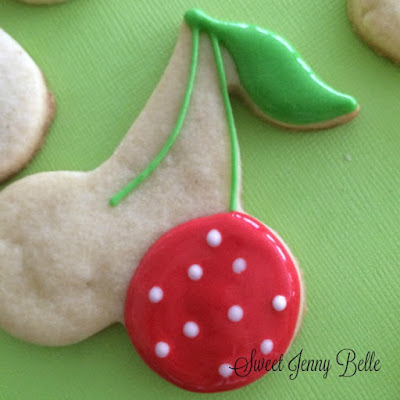
- While the red icing is still wet, quickly pipe a couple small white polka dots. This is a wet -on - wet technique and is one of my favorite techniques. If you want the polka dots to be raised, wait until the red cherry has slightly crusted. I did receive a comment that these polka dots make it look like a strawberry rather a cherry. I disagree and love polka dots, but of course feel free to do what makes you happy!
- Repeat the process for the other side. Let the cookie dry completely - about 8-12 hours. I place mine in a dehydrator to quickly crust the top. The dehydrator should be 90F and only keep the cookies in there for about 10 minutes.
Did you know that your cookie cutters can help you make the cutest pie crusts? Just cut out a cherry and gently lay on top. Bake as normal and voila - a super cute and easy pie!
Do you need an awesome pie crust recipe? Click here to read the post about my favorite recipe - it makes a ton and you can store in the freezer. You will love it!
Thank you for reading and I hope that you will try these cherry cookies out. They are easy, fun and will be a favorite at your next summer picnic.
(There are affiliate links on my blog. What does that mean? It means I am paid a small percent when you make a purchase. The purchase does not cost you extra. It helps support my business and the ability to more cookie cutters. And we all benefit from that.)
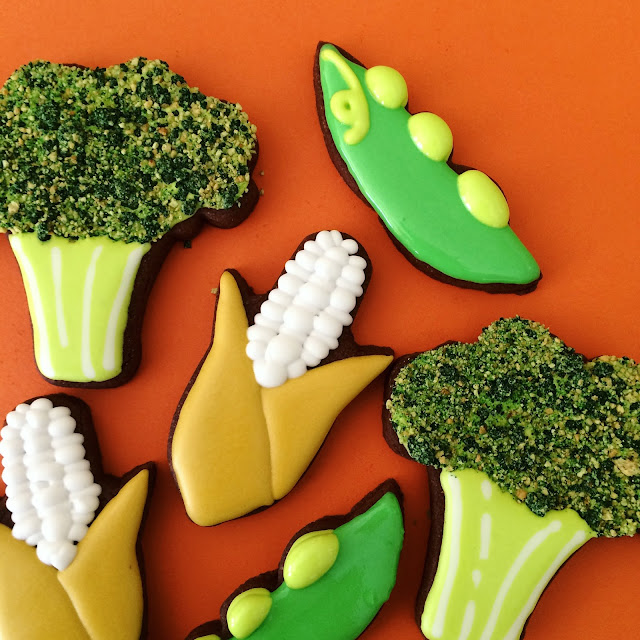
When I saw that Cookie Cutter Kingdom came out with vegetable cookie cutters, I knew I had to have them, Aren't they so cute? I think they would be perfect as an edible topper for garden themed cake or cupcake. I am going to create a set for a few of our local family farms. Which one is your favorite?
Do you remember these Indian corn cookies that I did last Thanksgiving? Now I have the perfect cutter for them! I love those colors together. Sigh. Is it fall yet? If you are coming to my class at the Pinners Conference, you can try it out!
I did a quick video of how to create some spring corn cookies. These are pretty easy and a fun cookie to practice your icing consistency. I think these would be a fun dessert for a 4H club or FFA!
I was shocked by how popular this broccoli video was on Instagram. Of course I had a few fans that were not happy that I would decorate a delicious chocolate cookie as broccoli, but these are too fun! I also did a LIVE class on FB showing how to do them. If you would like to hear the in depth instructions, click here!.
Want to know that secret broccoli topping? So easy! Simply crush graham crackers in a ziploc and add some Americolor green gel. Smush it all together and voila, you have broccoli topping!
What do you think? Are some delicious vegetable cookies in your future?
A few months ago I was scrolling Facebook and saw an ad for the Everything Food Conference. It was going to be held in Salt Lake and was all about food. I mean, how perfect is that? I know I have much to improve upon on my blog and knew there would be amazing information at this conference. And food.
But here's the thing, I have immense trouble at conferences. Am I shy? Maybe. Introverted? Definitely. And I hate trying to sell myself. What to do? One of my most favorite bakers, I Am Baker (Amanda Rettke) was going to be a speaker and I just couldn't let this opportunity to slip by. And then my amazing friend, Ashlee Marie, was signed up as a speaker too. That was it. I registered as a volunteer and counted the days!
The food was amazing! They worked so hard to make sure that everyone there was completely stuffed full of delicious food from sun up to sun down. We had Waffle Luv for breakfast one day, Kneader's for lunch on another. There was an open (and free!) snack bar at all times. Seriously. I don't know how I am able to zip up my jeans this week. The food was amazing and I'm kind of bitter to be back home and having to cook dinner every night.
But the highlight for me was the opening keynote speaker, Pat Flynn. Are you familiar with his podcasts? I wasn't - I had no idea who he was (sorry Pat!). His speech was powerful and motivating. It focused on why are we doing what we do - to be with our families.
I've spent these last couple months trying to figure out the best direction for this business. Do I open a storefront? Do I lease a bigger kitchen? What? And Food Network called me and then they changed their minds. And it's been crazy because I didn't have an end goal. I opened my bakery and boom, success landed in my lap. And I'm so appreciative, but it's taken me aback.
After listening to Pat talk, I knew I had to move and now. Yes, I will continue to sell cookies. Thank you for choosing me to be a part of your special moments. I am planning on moving my business to focusing more on YOU. I want to bring you better tutorials - real ones that you can walk away from and recreate in your home. I want to bring you the latest materials and tools out there to help us bakers. Because you know what, if you want to make the cookies for your child's birthday - I want to be there to help you. So in some ways my business is not changing and in other ways, it's huge. Don't hold your breath for a store front. If I were to open one, how can I create tutorials for you? I couldn't. We can do anything, but not everything. So sit back and get excited, only more cookie fun is coming!
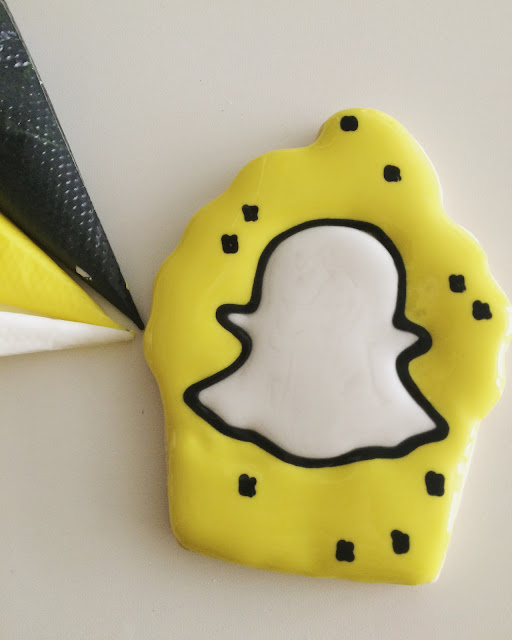
And my new foodie friends helped unlock the secrets of SnapChat for me. Are you on there? Add me! I'm Sweet Jenny Belle, of course. A peek into how I balance homeschooling my beautiful children and making delicious cookies.
Did you celebrate Cinco de Mayo? Or do you have a fiesta planned later this year? My husband's family is from Mexico and we love to celebrate. No, I know it's not Mexican Independence Day and I know that Mexico doesn't celebrate the day. But we do, it's our family tradition and we love to have fun with it!
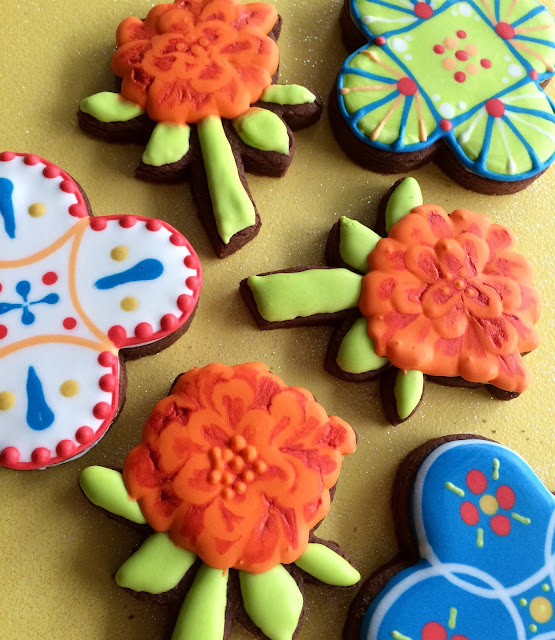
I created this set with maracas, talavera, sombreros and marigold flowers. All of these cutters came from Cookie Cutter Kingdom.
It took me some time to find a way to create the marigolds the way I envisioned. You can see a quick video here.
They won't dry perfectly smooth since you've painted vodka and coloring on them when they were wet, but I actually like the dimension and feel like it gives it a little something more to the floral petal look.
Categories:
cinco de mayo,
cookie video,
decorated cookies,
fiesta,
marigolds,
salt lake city,
sweet jenny belle,
tutorial
The fun set of cookies that I made this year after my husband was very vocal about wanting treats for the day!
Are you celebrating May the Fourth be With You? We love Star Wars and can't wait for the next movie to come out. My Star Wars cookies are always a hit and so popular in my Etsy store. The Death Star cookies are a favorite of mine. Have you seen my blog post on how to make them?
Aren't these Princess Leia cakepops fun? The fun addition of the pink bubblegum (fondant) seems to give her such a careless attitude, it cracks me up.
And here's a snap of my whole Star Wars set. Are you doing anything fun? What's your favorite Star Wars related treat? Hope the force is strong with you today and popping in your favorite episode!
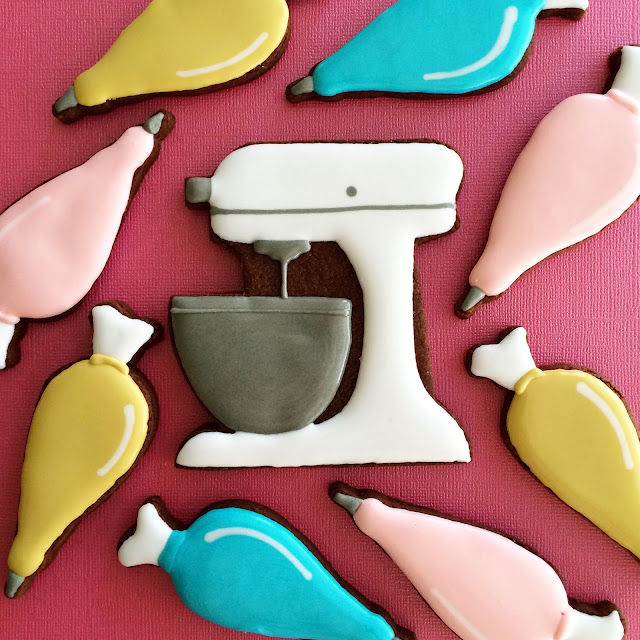
This past week I ordered a number of new cookie cutters from The Cookie Cutter Kingdom. I'm so excited and there are so many new sets in the works. I love them all, but I absolutely had to play with the icing bag and Kitchen Aid mixer cutters first. I spend just about every day mixing icing and it was fun to decorate these.
It dawned me that it would be amazing if Kitchen Aid created polka dot bowls - I mean really, how adorable would that be? Until they listen to my pleas, I can create them on cookies. What is your favorite polka dot color combination? I think I may have to ice some with other patterns on the bowl.
Materials you will need:
- Red flood icing
- White flood icing
- Grey flood icing.
I used tipless piping bags for all of the icings. The polka dots are created with the wet-on-wet technique. Want a visual of how I created them? Click on the video below for a fun video.
Subscribe to:
Posts (Atom)


