Cherry Decorated Cookies and Pie Tutorial
I am so excited that summer is around the corner! I can't wait to spend hot mornings at the pool with my kids and playing in our backyard at night. We recently signed up for a community share program with our local family farm. They have the most delicious fruits and vegetables. My favorite summer fruit are sun warmed cherries. I make cherry pie, cherry popsicles and of course cherry decorated cookies! I posted these on my Instagram page the other day and they were quite the hit. I thought it would be fun to share a cookie tutorial with you on how to make them. They are easy and quick - and irresistible when packaged in a cute berry basket!
Materials Needed
- your favorite roll out cookie dough recipe
- a cherry cookie cutter (I bought mine at Michael's, a local craft store)
- flood icing in: red, white and green
Directions
These are so easy! I try to have everything prepped and ready before I start decorating to make it more fun and less stress. I now use these tipless bags for almost all my cookie decorating. You don't need tips - just snip a bit off the top, with the seam side up facing you. And no clean up - hooray!
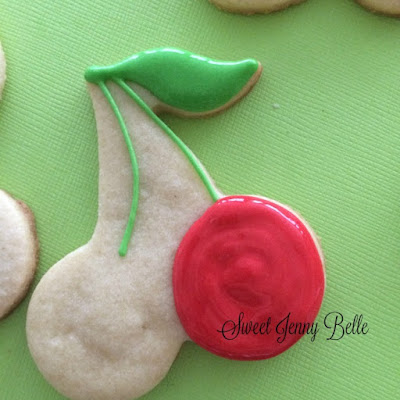
- First you are going to outline and flood your leaf; you can use a toothpick to help spread it out. Then carefully pipe the two cherry stems. You could get fancy with your leaf if you want, but honestly I find that the more simple my design, the more popular it is!
- Then pipe a large circle for one of the cherries - isn't it looking juicy already?
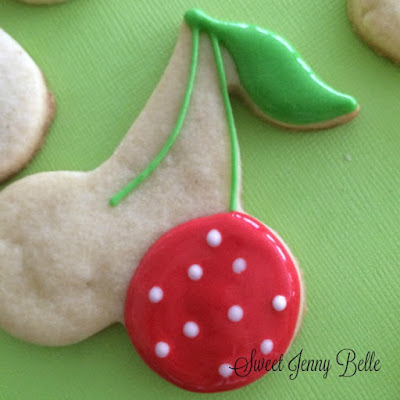
- While the red icing is still wet, quickly pipe a couple small white polka dots. This is a wet -on - wet technique and is one of my favorite techniques. If you want the polka dots to be raised, wait until the red cherry has slightly crusted. I did receive a comment that these polka dots make it look like a strawberry rather a cherry. I disagree and love polka dots, but of course feel free to do what makes you happy!
- Repeat the process for the other side. Let the cookie dry completely - about 8-12 hours. I place mine in a dehydrator to quickly crust the top. The dehydrator should be 90F and only keep the cookies in there for about 10 minutes.
Did you know that your cookie cutters can help you make the cutest pie crusts? Just cut out a cherry and gently lay on top. Bake as normal and voila - a super cute and easy pie!
Do you need an awesome pie crust recipe? Click here to read the post about my favorite recipe - it makes a ton and you can store in the freezer. You will love it!
Thank you for reading and I hope that you will try these cherry cookies out. They are easy, fun and will be a favorite at your next summer picnic.
(There are affiliate links on my blog. What does that mean? It means I am paid a small percent when you make a purchase. The purchase does not cost you extra. It helps support my business and the ability to more cookie cutters. And we all benefit from that.)


Post a Comment